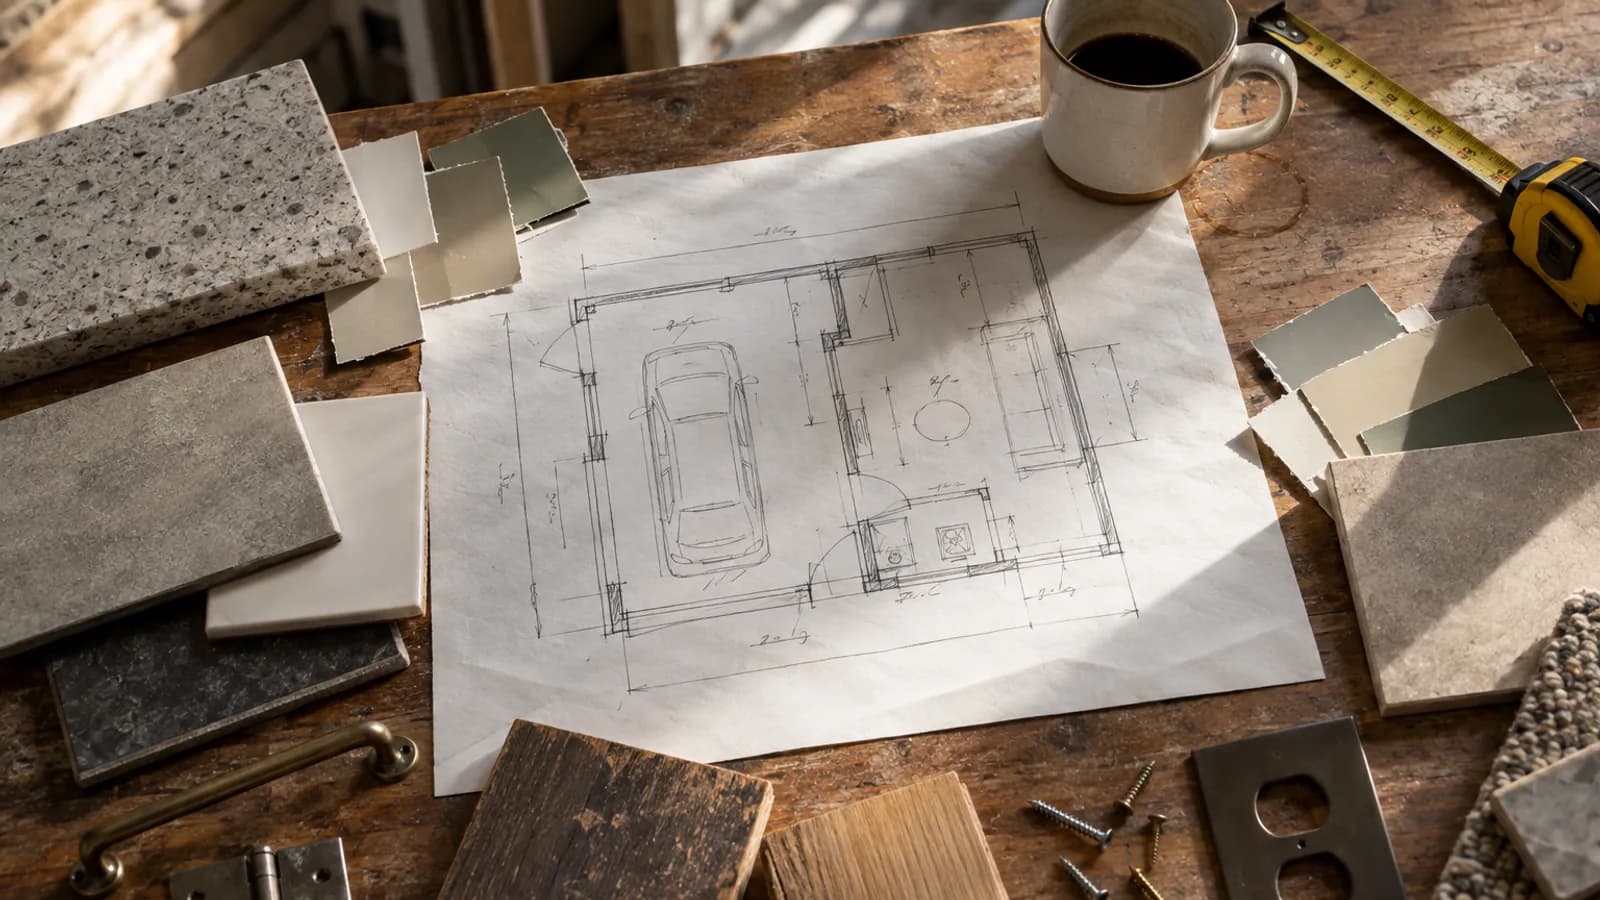
Turning a garage into living space is one of the smartest ways to add square footage in California. But it's not a weekend project with some drywall and paint. It's a full-scale renovation that has to meet the same codes as a new house. Your plans for garage conversion are the blueprint for getting it done right, on budget, and legally. This guide walks you through the steps a general contractor takes, from checking the foundation to passing final inspection. We'll focus on what pencils out over ten years of use and what gets you a green tag from the city inspector, not just what looks good on paper.
In a Nutshell
- Average Cost: A California garage conversion costs between $95,000 for a basic studio finish to over $250,000 for a high-end unit with a kitchen and bath, depending on the scope and location.
- Average Timeline: Expect 4 to 7 months from the first design sketch to final inspection. The permit process alone can take 2 to 4 months in some jurisdictions.
- Key Steps: The process involves a feasibility study, architectural design, structural engineering, permit submission, construction, and a series of city inspections.
- Biggest Hurdle: Getting the existing structure, especially the slab and framing, up to modern building codes for habitable space is the most common source of budget and schedule overruns.
- Primary Value: A permitted garage conversion can add significant property value and generate rental income, often providing one of the highest ROIs in home renovation.
Understanding Garage Conversion Costs in California
A full garage conversion into a legal Accessory Dwelling Unit (ADU) in California typically ranges from $125,000 to $275,000. The final price tag depends on the size of the garage, the level of finish, and the condition of the existing structure. While some basic conversions to a simple living space or office can start lower, turning a garage into a true rental-ready unit with a kitchen and bathroom requires substantial investment in plumbing, electrical, and structural upgrades.
In major metro areas like Los Angeles or the Bay Area, expect costs to be on the higher end, from $200 to $450 per square foot. A standard two-car garage (around 400 sq ft) can easily run $160,000 for a mid-range conversion. In contrast, costs in the Central Valley or Inland Empire might be closer to $150 to $300 per square foot. These figures account for everything from architectural plans and permit fees to foundation work, utility trenching, insulation, and interior finishes. A garage that needs a new slab, significant seismic retrofitting, or has complex utility tie-ins will push costs toward the top of the range. A newer structure with a solid foundation and accessible utilities will be more affordable.
Statewide averages for a 400 sq. ft. garage. Costs vary by location and structural condition.
What Drives Garage Conversion Price Differences?
Four things drive the cost of your project: the bones of the building, the mechanicals, the finishes, and the labor rates in your county. The condition of your existing garage is the biggest variable. A cracked, unlevel slab from the 1950s isn't a foundation for a living space; it's a liability. It needs to be saw-cut, removed, and repoured with proper vapor barriers and reinforcement, which can add $15,000 to $25,000 to the job right away. Similarly, if the existing framing is undersized or termite-damaged, it has to be replaced to support insulation and drywall. These are not optional upgrades; they are code requirements for habitable space.
Next are the mechanicals. Bringing water, sewer, and gas to the garage is a major expense. If you're tying into lines on the other side of the main house, that means trenching, which costs thousands. Upgrading your main electrical panel to handle the new load can be another $4,000 to $7,000. Finally, labor costs vary significantly across the state. A framing crew's daily rate is different in San Jose than it is in Fresno. The California Department of Industrial Relations prevailing wage data for Los Angeles County shows that skilled trades command high rates, which directly impacts the final cost. These are the non-negotiable costs of building legally and safely.
Three Representative Projects from 2026
Three representative projects from 2026, scoped similarly, reconstructed from Renology's Project of the Day network and used here in aggregate form:
- $135,000 in Sacramento: A 400 sq. ft. garage in a 1980s tract home converted into a studio ADU. The slab was in good condition, requiring only a moisture barrier and self-leveling compound. The project included a new kitchenette, a bathroom with a shower stall, a mini-split HVAC system, and new vinyl plank flooring. The main electrical panel had enough capacity, avoiding a costly upgrade. The project was straightforward, with minimal structural changes beyond framing the new interior walls and window openings.
- $190,000 in San Diego (North Park): A 450 sq. ft. detached garage behind a 1940s bungalow. The project required significant structural work, including new footings and shear walls for seismic compliance. The old concrete slab was removed and a new one was poured. The scope included a full one-bedroom layout with a galley kitchen, higher-end appliances, and custom tile in the bathroom. The main house sewer line was 80 feet away, requiring extensive trenching and a new sewer lateral.
- $280,000 in Palo Alto: A 500 sq. ft. attached garage converted into a high-end one-bedroom unit. The design involved vaulting the ceiling, which required re-engineering the roof structure with a new ridge beam. Finishes included custom cabinetry, quartz countertops, and high-end bifold doors opening to a new patio. The project also triggered a mandatory upgrade of the main house's electrical service to 200 amps and the installation of a dedicated EV charger, adding to the total cost.
The Step-by-Step Garage Conversion Planning Process
A proper garage conversion planner follows a strict sequence. Skipping a step is the fastest way to get a stop-work order from the city.
Step 1: Foundational Audit & Feasibility
Before you hire an architect, you need to know what you're working with. This means assessing the garage's foundation, framing, and location relative to property lines and utilities. A contractor or structural engineer can evaluate the slab for cracks and levelness, and check the framing for rot or damage. You also need to verify setbacks with your local planning department. Many older garages in neighborhoods like Los Angeles's Echo Park or San Francisco's Mission District were built right on the property line, which can complicate conversions under modern codes.
- Why: This step determines if the project is financially viable or if the existing structure is too compromised to convert economically.
- Watch out for: Unreinforced masonry foundations in pre-1940s garages, which almost always require a complete replacement for seismic safety.
Step 2: Design and Engineering
Once you've confirmed feasibility, you'll engage an architect or a design-build firm to draw up the plans. This is where you decide on the layout, window and door placements, and how the space will function. Their drawings will translate your vision into a buildable set of documents. Crucially, a structural engineer will then take these architectural plans and specify the necessary upgrades to meet building codes. This includes shear wall locations, foundation connection details, and any new beams required for larger openings. These engineering details are non-negotiable for permit approval.
- Why: The architectural and structural plans form the legal basis of your construction permit and the instruction manual for your contractor.
- Watch out for: Designers who don't understand local code amendments; what passes in one city might fail in another.
Step 3: Assembling Your Plans for Permit Submission
Your final plan set for the city is more than just floor plans. It's a comprehensive package that typically includes a site plan, foundation plan, framing plan, electrical and plumbing plans, mechanical plan (for HVAC), and California's Title 24 energy calculations. The Title 24 report proves the new living space meets state energy efficiency standards for insulation, windows, and lighting. This is a critical document that many homeowners overlook in their initial planning garage conversion phase. For a deeper dive on what a permit package requires, check out our guide to garage conversion costs and permits.
- Why: A complete and accurate plan set is the only way to get a building permit without months of back-and-forth with plan checkers.
- Watch out for: Incomplete submissions. If your package is missing the Title 24 report or structural calculations, the city will reject it immediately, resetting your place in the queue.
Step 4: Submitting to the Building Department
With your plan set complete, you or your contractor will formally submit it to your local city or county building department. The plans are reviewed by multiple departments: planning (for zoning and setbacks), building and safety (for structural and life safety codes), and sometimes public works (for sewer and water connections). Each department provides comments or corrections that your designer must address. Once all departments approve, the permit is issued.
- Why: A building permit is legal permission to start construction and ensures the project is inspected for safety.
- Watch out for: The plan check process can take anywhere from a few weeks to several months, depending on the jurisdiction's backlog. Factor this wait time into your project schedule.
Step 5: Contractor Bidding and Scope-Lock
While the plans are in review, it's the ideal time to bid the project out to general contractors. Provide at least three qualified builders with the exact same set of plans to get comparable, apples-to-apples bids. Once you select a contractor, you'll sign a contract that clearly defines the scope of work, payment schedule, and project timeline. This is your scope-lock date. Any changes made after this point will be handled through change orders, which add cost and time.
- Why: Bidding with a permitted set of plans ensures all contractors are pricing the exact same project, eliminating guesswork.
- Watch out for: Vague contracts. A good contract specifies everything from the model of the water heater to the brand of the windows.

Step 6: Construction and Inspections
Once you pull the permit, construction begins. The process is a sequence of milestones, each followed by a mandatory city inspection: foundation, framing, rough electrical/plumbing/mechanical, insulation, and finally, the final inspection. The inspector signs off on the inspection card at each stage, allowing the next phase to proceed. You cannot cover up any work (like with drywall or concrete) until the inspector has approved it. The signed-off inspection card is your proof of compliance.
- Why: Inspections verify that the work is done to code, ensuring the safety and longevity of the structure.
- Watch out for: Failing an inspection. This results in a stop-work order until the issue is corrected and re-inspected, causing delays.
Navigating California's Permitting Labyrinth
3 pros, editor-screened. 4 questions.
See my 3 matchesIn California, state law heavily influences local ADU and garage conversion rules. Laws like AB 68 and AB 970 were passed to streamline the approval process, mandating that jurisdictions act on permit applications within 60 days. However, the thoroughness of the plan check varies. Departments like the Los Angeles Department of Building and Safety (LADBS) or the San Diego Development Services Department (SDCI) have detailed checklists your plans must meet before they are even accepted for review.
Your plans for garage conversion must comply with the California Building Code (CBC) for habitable spaces. This means proper egress (a door to the outside and often an escape window), minimum ceiling heights (typically 7 feet 6 inches), ventilation, and smoke/carbon monoxide detectors. The biggest code item is structural. A garage is built to shelter a car, not people. Your plans must show how you're strengthening the structure to handle seismic loads and support a finished interior. This usually involves adding plywood shear panels, foundation anchor bolts, and steel hold-downs. The state's ADU handbook, published by the California Department of Housing and Community Development (HCD), is a valuable resource, but your local city's building code amendments will have the final say. Don't assume a statewide rule overrides a local safety requirement. If you're looking for professional help, Renology can connect you with vetted contractors who know the local permit process inside and out.
What no one else covers: Labor vs. Materials Breakdown
Most homeowners focus on the cost of windows and flooring, but in California, labor is the biggest part of your budget. For a typical garage conversion, the split is roughly 60% labor and 40% materials. This ratio can shift, but not in the way you might think. A high-end project with imported tile and custom cabinets might move the needle closer to 55/45, but the immense labor cost for skilled installers to get those details right keeps labor as the dominant expense.
Let's break it down. A $150,000 garage conversion isn't $75,000 in materials. It's closer to $90,000 in labor and $60,000 in materials. That $90k pays for the architect, engineer, general contractor's overhead and profit, and the daily wages of the framers, electricians, plumbers, and drywallers. The material portion covers everything from lumber and concrete to fixtures and paint. Why does this matter? Because it shows where you have the least flexibility on cost savings. You can choose a less expensive faucet, but you can't get a discount on the licensed plumber required to install it. Trying to save money by hiring cheaper, unlicensed labor is the single biggest mistake a homeowner can make. It leads to failed inspections, unsafe work, and often costs more to fix than doing it right the first time. The real way to manage costs is to finalize your material selections early and design a space that minimizes complex structural or utility work. The U.S. Bureau of Labor Statistics data consistently shows construction labor costs rising, so locking in a contract with a fixed price is key to protecting your budget.
California-Specific Structural and Environmental Risks
Converting a garage in California means confronting regional risks head-on. Your plans must address these from day one, as they are baked into the building code. The first is seismic activity. For most of the state, this means your plans must include a seismic retrofit for the garage. This typically involves anchoring the new walls to the foundation with epoxy-set anchor bolts and installing plywood shear walls to prevent the structure from racking during an earthquake. In coastal areas from San Diego to the Bay Area, there's the added issue of coastal humidity and salt air corrosion. This affects material selection. Your plans should specify galvanized or stainless steel structural connectors and fasteners to prevent rust. Using interior-grade hardware on an exterior is a guaranteed failure.
In many parts of the state, particularly in communities like those in the East Bay hills or San Diego's eastern suburbs, wildfire is a major concern. If your home is in a designated Wildland-Urban Interface (WUI) zone, your conversion will have to comply with Chapter 7A of the building code. This dictates ignition-resistant construction, requiring specific types of siding, vents, windows, and roofing. Finally, for homes in the Central Valley, extreme summer heat is a design factor. Your Title 24 energy calculations will be more stringent, likely requiring higher R-value insulation and more efficient windows to keep the space cool without exorbitant energy bills. A good ADU plan accounts for these regional realities before the first nail is hammered.
Timeline: How Long Does a Garage Conversion Take?
A realistic timeline for a garage conversion in California is 4 to 7 months, broken into two main phases: pre-construction and construction. Don't believe anyone who tells you it can be done in 60 days.
Phase 1: Pre-Construction (8 to 16 weeks)
This is the planning and permitting stage. It's all paperwork, no sawdust. It starts with design, which can take 3 to 6 weeks for architectural and engineering plans. Once you have a complete plan set, you submit it to the city. The permit review process is the biggest variable. In a streamlined city, you might get a permit in 6 to 8 weeks, especially with California's 60-day shot clock. In a backlogged department, it can easily stretch to 12 weeks or more if corrections are required. This phase is complete only when you have an approved permit in hand.
Phase 2: Construction (8 to 14 weeks)
This is the physical build. It begins with demolition and any necessary foundation work (1 to 2 weeks). Then comes framing and structural upgrades (1 to 2 weeks). After the framing inspection passes, you have the rough-in for plumbing, electrical, and HVAC, which takes another 1 to 2 weeks. After that inspection, insulation and drywall go up (1 to 2 weeks). The final stretch is finishes: flooring, painting, cabinet installation, and fixture setting (2 to 4 weeks). The final week is for touch-ups and the final inspection from the city. 12 weeks is a good average if nothing surprises you. 16 weeks is more realistic if the slab moves or a subcontractor schedule slips.
Budgeting for the Unexpected: Overruns and Contingency
No renovation project ends at the exact bid price. Unforeseen issues are discovered once walls are opened up. This is why a contingency fund is a non-negotiable part of your budget. The National Association of Home Builders recommends a ten to fifteen percent contingency on renovations in homes over thirty years old. For a $150,000 garage conversion, this means having an extra $15,000 to $22,500 set aside in cash. This isn't 'slush fund' money for upgrades; it's a safety net for genuine surprises.
What does a contingency cover? Common issues in garage conversions include discovering the existing concrete slab is too thin or lacks a vapor barrier, requiring removal and repouring. You might find hidden termite or water damage in the wall framing once the old siding or drywall is removed. Another classic surprise is finding that the main house's electrical panel is maxed out and can't support the new loads, forcing an expensive panel upgrade. Or the sewer line you planned to tie into is old, cracked cast iron that has to be replaced. These are the real-world problems that a contingency fund is for. Without it, a single surprise can halt the project or force you to compromise on the quality of the finishes.
Your Garage Conversion Planner Checklist
- Verify Zoning and Setbacks: Check with your local planning department to confirm your garage is eligible for conversion and meets all setback requirements.
- Get a Structural Assessment: Hire a professional to inspect the foundation and framing before you spend money on design.
- Develop a Detailed Budget: Account for hard costs (construction), soft costs (plans, permits), and a 15% contingency fund. You can use a garage conversion cost calculator for a preliminary estimate.
- Hire a Qualified Designer/Architect: Choose a professional with experience in your specific city and a portfolio of completed garage conversions.
- Create a Complete Permit Plan Set: Ensure your package includes architectural, structural, and Title 24 energy calculations.
- Vet and Bid to Multiple Contractors: Get at least three bids from licensed and insured general contractors based on your final, approved plans.
- Sign a Detailed Contract: Your construction agreement should specify the full scope of work, materials, timeline, and payment schedule.
- Understand the Inspection Sequence: Know which inspections are required and ensure your contractor schedules them appropriately. Do not allow work to be covered before inspection.
- Plan for Utilities: Confirm your plan for bringing water, sewer, power, and gas to the unit early in the process. This includes checking the capacity of your main electrical panel.
- Finalize Finishes Early: Make decisions on flooring, tile, cabinets, and fixtures before construction starts to avoid delays and decision fatigue.
Renology Take
The single biggest mistake homeowners make is thinking of a garage conversion as an interior remodel. It's not. It's new construction inside an old shell. The structural and utility requirements are identical to building a small house from scratch. You are creating a legal, habitable dwelling unit, and the building code makes no distinction between an ADU and a primary residence when it comes to safety. The load path has to be continuous, the weather barrier has to be perfect, and the mechanical systems have to be safe. Homeowners get fixated on the layout and the color of the cabinets, but the inspector is looking at the foundation bolts, the shear panel nailing schedule, and the GFI protection. Focus your planning on the bones of the building first. Get the structure, waterproofing, and utilities right. Everything else is just a finish.
Sources & Methodology
Renology reviews public permit and labor signals, supplier pricing, remodeler quote patterns, comparable projects, the Renology Cost Index, and the Renology Methodology. Cost references are planning ranges for local renovation projects, not fixed bids.
- California Department of Housing and Community Development (HCD), "Accessory Dwelling Unit Handbook," December 2022.
- Los Angeles Department of Building and Safety (LADBS), "Standard Plan for the Conversion of a One-Story Detached Garage into an ADU," 2023.
- National Association of Home Builders (NAHB), "Remodeling Market Index (RMI)," Q1 2026.
- Remodeling Magazine, "Cost vs. Value Report," 2026.
- California Department of Industrial Relations, "General Prevailing Wage Determinations," Los Angeles County, 2026.
- U.S. Bureau of Labor Statistics, "Producer Price Index: Construction," 2026.
- California Building Standards Commission, "California Building Code (Title 24)," 2022 Edition.
- Assembly Bill 68 (Friedman, Chapter 655, Statutes of 2019).
- Assembly Bill 970 (Chapter 178, Statutes of 2021).
- American Institute of Architects (AIA), "AIA Contract Documents for Small Projects," 2024.
Frequently Asked Questions
How much value does a garage conversion add in California?
Do I need an architect for a garage conversion plan?
Can I convert my garage myself?
What is the difference between a garage conversion and an ADU?
Do I lose my required parking if I convert my garage?
How do I make a garage conversion not feel like a garage?
What are the biggest hidden costs in a garage conversion?
Does my garage need a new foundation for a conversion?
Get 3 ADU bids in 48 hours.
Our editors already vetted ADU builders. Answer 4 questions and we send 3 written bids inside 48 hours, with the real price for your scope, not their inflated first-call number.
- Free, no commission
- Pre-screened locally
- Bids inside 48 hours
Takes about 60 seconds. We'll text you when bids arrive.
Sources
- California Department of Housing and Community Development (HCD), "Accessory Dwelling Unit Handbook"
- Los Angeles Department of Building and Safety (LADBS), "Standard Plan for the Conversion of a One-Story Detached Garage into an ADU"
- National Association of Home Builders (NAHB), "Remodeling Market Index (RMI)"
- Remodeling Magazine, "Cost vs. Value Report"
- California Department of Industrial Relations, "General Prevailing Wage Determinations," Los Angeles County
- U.S. Bureau of Labor Statistics, "Producer Price Index: Construction"
- California Building Standards Commission, "California Building Code (Title 24)"
- Assembly Bill 68 (Friedman, Chapter 655, Statutes of 2019)
- Assembly Bill 970 (Chapter 178, Statutes of 2021)
- American Institute of Architects (AIA), "AIA Contract Documents for Small Projects"