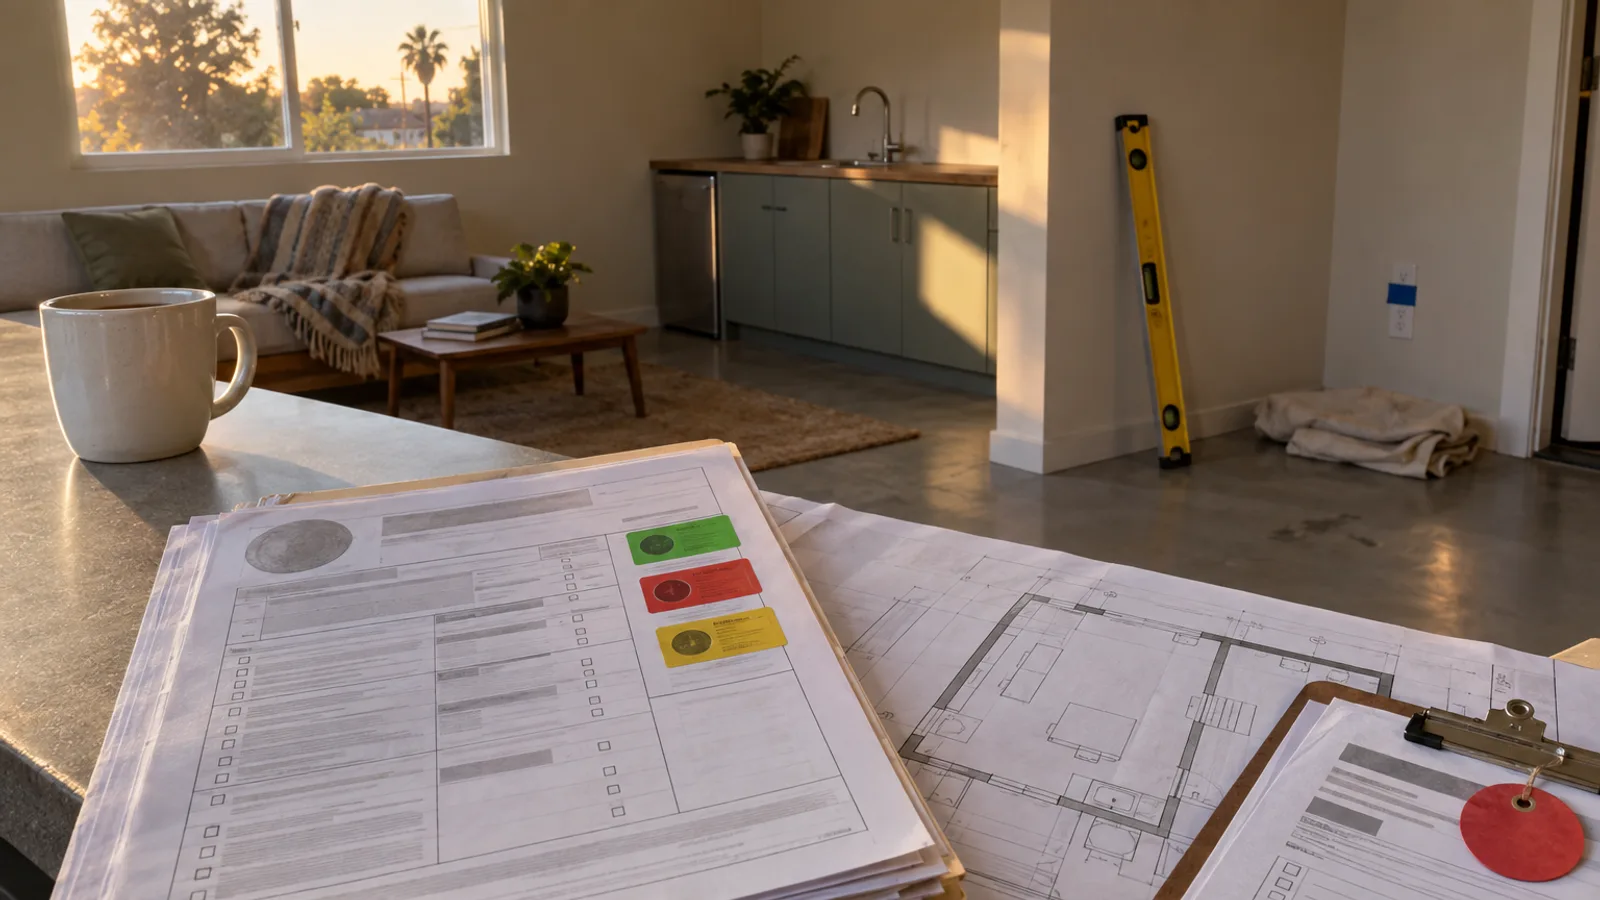
A garage conversion permit in California takes between 16 and 30 weeks from architectural drawings to final inspection. For a straightforward conversion in a jurisdiction with a streamlined process, you can land on the shorter end. But projects in places like Los Angeles or San Francisco, with significant structural changes or hillside ordinances, often push toward that 30-week mark or beyond. Timelines can start lower for pre-approved plans or simple JADU conversions that don't alter the building envelope. The single biggest delay across the state is the initial plan check backlog at the local building department. A project in Mar Vista might wait 12 weeks for initial comments, while a similar scope in Fresno gets feedback in four. Plan for the wait.
In a Nutshell
- Total Timeline: 16 to 30 weeks
- Four Phases: Design & Permits (6 to 14 weeks), Site Prep & Foundation (2 to 4 weeks), Framing & Rough-In (4 to 6 weeks), Finishes & Final (4 to 6 weeks).
- Biggest Delay Risk: Initial plan check and correction cycles with your local building department. This is where projects go to die for months.
- Contingency Advice: The National Association of Home Builders recommends a ten to fifteen percent contingency fund. For a California garage conversion, especially on an older home, I call that the bare minimum.
Represents the higher end of the typical range for each phase. Total project time can reach 30 weeks.
Phase 1: Design and Permits (6 to 14 weeks)
This is where the project is born on paper and approved by the powers that be. Nothing happens on site, but everything is happening behind the scenes. Your architect or designer draws up the plans, including floor plans, elevations, structural details, and California's mandatory Title 24 energy calculations. These plans are then submitted to your local city or county building department, like the Los Angeles Department of Building and Safety (LADBS) or San Diego's Development Services Department (DSD). The waiting begins. A plan checker reviews your submission for compliance with the California Building Code and local ordinances. This is rarely a one-and-done process. Expect at least one round of corrections, where the city sends back notes and your architect has to revise and resubmit. California's state laws, like AB 68 and AB 970, are meant to streamline this for ADUs by setting a 60-day shot clock for permit approval, but local agency interpretations and backlogs can still cause delays. The goal here is to get your plans stamped "Ready to Issue" (RTI), which means you can pay your fees and pull the permit. Don't order a single 2x4 until you have that stamped set of plans in hand.
Key Players and Holdups
- Who Does What: The homeowner provides the vision and makes design decisions. The architect or designer creates the construction documents. A permit expediter may be hired to work through the city bureaucracy.
- Common Holdups: Incomplete submittal packages, structural plans that lack a clear load path, and energy calculations that don't meet Title 24 requirements are the top three reasons for rejection. A slow-moving architect can add weeks to this phase just by dragging their feet on revisions.
Phase 2: Site Prep and Foundation (2 to 4 weeks)
With a permit card in the window, work can begin. This phase is about preparing the existing structure for its new life as a habitable space. The first step is demolition and clearing out the garage. Then comes the most critical part: the slab. A typical garage slab is not insulated, does not have a vapor barrier, and is often cracked or sloped improperly. It is not a legal foundation for living space. Your plans will specify the remedy: either a new floating slab poured over the old one with proper insulation and moisture protection, or cutting and removing sections to install new footings and grade beams for structural support. At the same time, your plumber and electrician will be trenching outside to bring new water, sewer, and electrical service to the unit. This often requires coordination with your local utility, like PG&E in Northern California or SoCal Edison in the south. Before any concrete is poured, an inspector must visit the site to approve the new plumbing, the rebar placement, and the foundation prep. This is your first major inspection. A failed inspection here means delays while the work is corrected and the inspector is rescheduled. It sets the tone for the entire project.
Key Players and Holdups
- Who Does What: The general contractor manages the site. Demolition crews clear the space. Concrete contractors handle the slab and footings. Plumbers and electricians run the underground utilities.
- Common Holdups: Discovering that the existing garage foundation is unreinforced or inadequate to support the new design. Hitting unexpected rock or high water tables during trenching. Delays in getting the utility company to sign off on the new connections.
Phase 3: Framing and Rough-In (4 to 6 weeks)
This is when the empty box starts to look like a home. Carpenters frame the new interior walls, window and door openings, and any new roof structures. A continuous load path is critical here. Every stud, header, and joist must be sized and connected properly to transfer loads from the roof down to the foundation. This is especially important in seismic zones across California. Once the skeleton is up, the trade parade begins. This happens in a specific, unchangeable order. First, the plumber runs all the supply and drain lines. Next, the HVAC contractor installs the ductwork and ventilation. Then, the electrician wires the entire unit, placing boxes for outlets, switches, and fixtures. All of this work is done within the open wall cavities before any insulation or drywall goes up. This is the "rough-in" stage. At the end, you'll call for a combination inspection. The building inspector will arrive with your approved plans and a flashlight, checking the framing, plumbing, electrical, and mechanical work all at once. Every connection, every nail, every pipe must be perfect. If you fail this inspection, everything stops. You fix the issues, and you wait for a re-inspection. A good contractor gets this signed off on the first try. A bad one can get stuck here for weeks.
Key Players and Holdups
- Who Does What: The framing crew builds the structure. The plumber, electrician, and HVAC technician perform their rough-ins. The GC coordinates the sequence.
- Common Holdups: Failing the combination inspection due to improper nailing schedules, unsupported plumbing lines, or electrical code violations. Delays in window and door delivery can also halt framing progress.
Phase 4: Finishes and Final Inspection (4 to 6 weeks)
After the rough-in inspection is signed off on the inspection card, the walls can be closed. This phase transforms the construction site into a finished living space. Insulation is installed in the walls and ceiling, a critical step for comfort and for passing Title 24 energy requirements. Then, the drywall is hung, taped, and textured. This is a dusty, multi-day process. Once the drywall is primed, the finish work begins in earnest. Flooring goes down, cabinets and countertops are installed, and the painter applies the final coats. The electrician and plumber return to install the "trim" or finish fixtures: lights, switches, outlets, sinks, faucets, and the toilet. Every detail matters here, from the grout lines in the shower to the alignment of the cabinet doors. The final step before the homeowner can move in is the final inspection. The building inspector returns one last time to ensure the completed project matches the approved plans and meets all life-safety codes. They'll check smoke detector placement, GFCI outlets, window egress, and final grading outside. Once they sign off, the city issues a Certificate of Occupancy. This document makes the new unit a legal, habitable dwelling. Without it, you just have a very expensive, well-finished garage.
Key Players and Holdups
- Who Does What: Insulation installers, drywall crews, painters, flooring installers, finish carpenters, and the original plumber and electrician all return to complete their work.
- Common Holdups: Backordered appliances or finish materials (tile, light fixtures) can bring the project to a standstill. Failing the final inspection for small but critical details, like a missing air gap on a dishwasher drain line.
Three Representative Projects from 2026
3 pros, editor-screened. 4 questions.
See my 3 matchesThree representative projects from 2026, scoped similarly, reconstructed from Renology's Project of the Day network and used here in aggregate form:

- San Diego (North Park): A 400 sq ft garage conversion into a studio ADU. The project involved upgrading the existing slab, adding a new bathroom and kitchen, and vaulted ceilings. The plans were standard, and the city's review was relatively quick. Total cost: $115,000. Total time: 18 weeks.
- Los Angeles (Eagle Rock): A 450 sq ft conversion on a hillside property. This required new retaining walls and significant foundation work to create a legal dwelling. The LADBS plan check process involved multiple correction cycles due to the complex site. Total cost: $165,000. Total time: 26 weeks.
- Sacramento (East Sacramento): A 500 sq ft two-car garage conversion into a one-bedroom JADU. The existing structure was in good shape, requiring minimal foundation work. The homeowner had all finish materials selected and ordered before construction began, avoiding delays. Total cost: $125,000. Total time: 17 weeks.
What No One Else Covers: The Slab and The Load Path
Every garage conversion lives or dies by two structural realities: the concrete slab it's built on and the load path that holds it up. Get these wrong, and you don't have an ADU; you have an illegal, unsafe room that will never pass inspection. First, the slab. The concrete floor in your garage was never meant for people to live on. It was poured thin, without a vapor barrier, without insulation, and sloped to a floor drain. The California Building Code requires habitable spaces to have a foundation that prevents moisture intrusion and provides thermal insulation. You cannot just put laminate flooring over the old concrete. The correct solution involves either pouring a new, insulated "floating slab" on top of the old one, or cutting the existing slab to pour new, deeper footings for the walls. This is non-negotiable and the first thing an inspector checks. Second, the load path. A garage is a simple structure, often with a wide-open door supported by an undersized header. When you frame in that door and add windows, you are changing how the weight of the roof is distributed. You must create a continuous load path, meaning the weight from the roof rafters must transfer directly through headers, king studs, and cripple walls down to the foundation. If you plan to build a second story or even a roof deck, this becomes even more critical. Many older garages lack the shear walls or seismic connections (like hold-downs and anchor bolts) required for a living space in California. Your plans must show exactly how you're reinforcing the structure to meet modern seismic codes. This is the engineering that separates a real contractor from a handyman. It's not just about building walls; it's about building a safe structure that will stand for another fifty years.
What Can Compress This Timeline
The timeline isn't set in stone. The homeowner who saves six weeks does these three things before signing a contract. First, they lock in every single design decision. They have the model number for the faucet, the paint color codes, and the tile selection finalized before the scope-lock date. This allows the contractor to order all materials at once, eliminating lead-time delays. Second, they hire an architect and contractor who have a track record of getting plans approved in their specific city. A pro who knows the local plan checkers and their pet peeves can sail through permitting while others get stuck in endless correction cycles. Third, they establish a clear communication protocol with the contractor, with weekly check-ins and a single point of contact for decisions. This prevents the small questions that can stall a crew for a day from turning into week-long delays. You can find experienced local professionals through a vetted network like the one offered by Renology's Find a Pro service.
What Blows It Up
Three things reliably turn a 20-week project into a 30-week nightmare. First, discovering unpermitted work from a previous owner. When you open up walls and find shoddy electrical or plumbing, everything stops. You now have to pay to bring that work up to code and get it inspected before your own project can proceed. Second, major foundation surprises. You think you just need to upgrade the slab, but it turns out the original footings are cracked or nonexistent. This can add tens of thousands of dollars and weeks of engineering and concrete work. Third, changing your mind after work has started. Deciding you want to move a wall or change a window location after framing is complete isn't a small tweak. It requires new plans, potentially a new permit revision, and costly rework. The National Association of Home Builders recommends a ten to fifteen percent contingency on renovations in homes over thirty years old. This is precisely for these kinds of surprises.
What Should Be in Your Contractor's Schedule
A real project schedule is more than a list of phases. It's a detailed document with dependencies and dates. Insist that your contractor's schedule includes these line items at a minimum:
- Scope-Lock Date: The final day for you to make material and design selections without incurring change order fees or delays.
- Permit Submittal Date: The date the completed plans will be submitted to the building department.
- Anticipated Permit Issuance Date: A realistic estimate based on current local processing times.
- Long-Lead Material Order Dates: Specific dates for ordering items like windows, custom cabinetry, and appliances.
- Foundation/Slab Inspection Date: The target date for the first major inspection.
- Rough-in Combination Inspection Date: The target for the most complex inspection.
- Drywall Start Date: This can't happen until the combo inspection is passed.
- Final Inspection Date: The day you're aiming for the final sign-off.
- Projected Certificate of Occupancy: The finish line.
A detailed schedule keeps everyone accountable. For a deeper dive into the paperwork, see our permit playbook.
Renology Take
The brochure timeline says 16 weeks. My experience says plan for 24. The difference isn't the builder's fault, usually. It's the friction of reality. It's the two weeks your plans sit in a queue before a city plan checker even opens the file. It's the week you lose because the inspector can't come out until next Tuesday. It's the ten days the custom window manufacturer is behind schedule. A good general contractor builds a schedule that anticipates this friction. A great one communicates it to you from the start. The speed of a garage conversion isn't determined by how fast the crew can swing a hammer. It's determined by the speed of approvals, inspections, and deliveries. The parts you don't see are the parts that take the most time. Acknowledge that reality, and you'll have a much smoother project.
Sources & Methodology
Renology reviews public permit and labor signals, supplier pricing, remodeler quote patterns, comparable projects, the Renology Cost Index, and the Renology Methodology. Cost references are planning ranges for local renovation projects, not fixed bids.
- California Department of Housing and Community Development (HCD), ADU Handbook, December 2022
- California Legislative Information, Assembly Bill 68 (2019) and Assembly Bill 1033 (2023)
- California Department of Industrial Relations, Prevailing Wage Determinations, 2026
- Los Angeles Department of Building and Safety (LADBS), ADU/Garage Conversion Guidelines, 2025
- San Diego Development Services Department, ADU Submittal Requirements, 2025
- National Association of Home Builders (NAHB), The Cost of Remodeling, 2025
- Remodeling Magazine, Cost vs. Value Report, 2026
- International Code Council (ICC), 2022 California Residential Code (CRC)
- Renology Project of the Day Network, California Project Data, 2024-2026
Frequently Asked Questions
How long does a permit for a garage conversion in California really take?
Can I live in my house during a garage conversion?
What is the longest single phase of a garage conversion?
Can I fast-track the permits for my garage conversion?
What are the key code requirements for a garage conversion in California?
Is it cheaper to convert a garage or build a detached ADU?
What is a Junior ADU (JADU) and how is it different?
How does seismic retrofitting affect my garage conversion?
Get 3 ADU bids in 48 hours.
Our editors already vetted ADU builders. Answer 4 questions and we send 3 written bids inside 48 hours, with the real price for your scope, not their inflated first-call number.
- Free, no commission
- Pre-screened locally
- Bids inside 48 hours
Takes about 60 seconds. We'll text you when bids arrive.
Sources
- California Department of Housing and Community Development (HCD), ADU Handbook
- California Legislative Information, Assembly Bill 68 (2019) and Assembly Bill 1033 (2023)
- California Department of Industrial Relations, Prevailing Wage Determinations
- Los Angeles Department of Building and Safety (LADBS), ADU/Garage Conversion Guidelines
- San Diego Development Services Department, ADU Submittal Requirements
- National Association of Home Builders (NAHB), The Cost of Remodeling
- Remodeling Magazine, Cost vs. Value Report
- International Code Council (ICC), 2022 California Residential Code (CRC)
- Renology Project of the Day Network, California Project Data