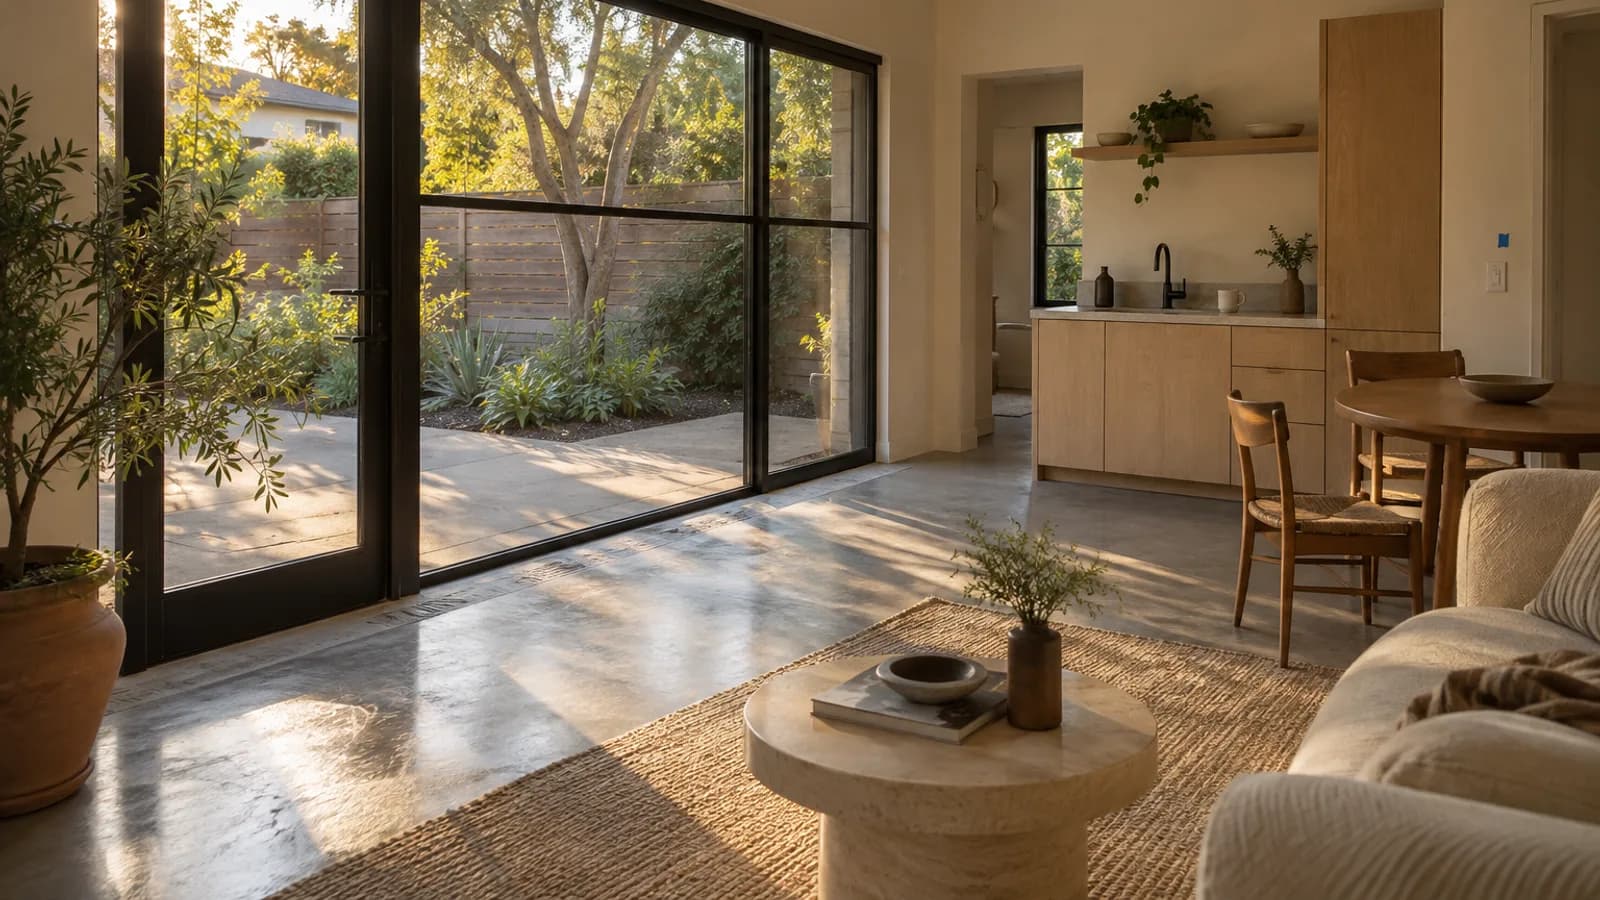
A garage conversion ADU in California can cost anywhere from $90,000 to over $400,000, with a typical all-in project landing between $150,000 and $250,000 for a standard two-car garage. That price can start lower, of course, for smaller single-car garages or conversions with existing plumbing tie-ins, but the bottom of the range is rarely the reality for a full, permitted living unit. The final invoice depends on the condition of your existing structure, the level of finishes you choose, and where you live in the state. A project in Los Angeles will have a different labor cost than one in Fresno, and a high-end build in Palo Alto is in another league entirely. This isn't a weekend project. It's a full-scale home build within an existing shell, and it demands a contractor's mindset from day one.
In a Nutshell
- Typical Cost Range: $150,000 to $250,000 for a complete, permitted two-car garage conversion ADU in California.
- Timeline: Expect 6 to 12 months from first drawings to final inspection. Permitting alone can take 2 to 4 months, even with state mandates.
- Key Challenge: The existing structure. Most garages were not built to be lived in. The foundation, framing, and utility connections are your biggest unknowns.
- Biggest Win: You're creating a new housing unit on land you already own, adding rental income potential and property value without the cost of a ground-up build.
- State Law Is on Your Side: California has passed numerous laws (like AB 68 and AB 970) to streamline ADU approval, making a garage conversion ADU more feasible than ever.
Is Converting Your Garage into an ADU a Good Move in California?
For most California homeowners with an underused garage, the answer is a hard yes. A garage conversion ADU taps into existing square footage to create rental income, house family, or establish a dedicated home office. The return on investment is strong. According to a 2024 report from the National Association of Realtors, adding an ADU can increase a property's value by 20 to 35 percent. In a state with a chronic housing shortage, creating a new, legal dwelling unit is a tangible asset. The state government agrees. Sacramento has consistently passed legislation to remove barriers to ADU construction, recognizing them as a key solution to the housing crisis. This means your local jurisdiction has less authority to deny your project, provided it meets state health and safety codes. The financial case is compelling. A $180,000 conversion in a neighborhood like North Park in San Diego could generate $2,500 per month in rent, paying for itself in about six years, not counting appreciation. It's one of the few home improvement projects that can generate positive cash flow almost immediately upon completion. The real question isn't if it's a good move, but if your specific garage is a good candidate for the move.
How Much Does a Garage Conversion ADU Cost in California?
The statewide average for a complete garage conversion ADU lands between $150,000 and $250,000. This range covers a turnkey project: plans, permits, construction, and basic finishes. However, the costs are intensely regional. A basic conversion in the Central Valley might come in around $120,000, while a similar scope in the Bay Area could easily exceed $280,000. For a high-end conversion with custom cabinetry, vaulted ceilings, and premium fixtures, costs can push past $400,000, especially in coastal markets like Santa Monica or La Jolla.
We see three general tiers for a standard 400 square foot, two-car garage conversion:
- Basic Conversion ($90,000 to $160,000): This assumes the existing slab and framing are in good shape. It includes builder-grade finishes, vinyl flooring, laminate countertops, and basic utility hookups. This is a functional, durable living space without the bells and whistles.
- Mid-Range Conversion ($160,000 to $280,000): This is the most common project scope. It includes budget for some structural work, like pouring a new slab overlay or adding shear walls. Finishes are upgraded to engineered hardwood, quartz countertops, semi-custom cabinets, and better insulation and soundproofing. You can find more details on our ADU construction service page.
- Premium Conversion ($280,000 to $400,000+): This involves significant structural changes, potentially raising the roof for higher ceilings. It features high-end appliances, custom millwork, designer tile, and smart home integrations. This is a bespoke small home, not just a converted garage.
Cost Breakdown: Labor vs. Materials
In California, the cost of a garage conversion ADU typically splits about 50/50 between labor and materials, though in high-wage areas it can skew closer to 60/40. A $200,000 project might have $110,000 in labor and $90,000 in materials and fees. The reason for the high labor cost is twofold: skilled trade wages are high, and the work is complex. According to the California Department of Industrial Relations prevailing wage data for Los Angeles County, an electrician can command over $80 per hour and a plumber over $95. This isn't just one trade. A conversion requires a general contractor, foundation specialist, framer, plumber, electrician, roofer, drywaller, and painter. Each trade has to coordinate within a tight space. Materials costs are also significant. Lumber, concrete, insulation, and copper wire prices fluctuate based on national supply chains, tracked by indices like the Producer Price Index (PPI) for construction materials. But the big-ticket items are often fixtures and finishes. A full kitchen appliance package can run from $3,000 for basic models to over $20,000 for high-end brands. Windows, doors, and flooring add up quickly. Understanding this split is key. You can save money by selecting more affordable materials, but you can't escape the cost of qualified, licensed labor needed to pass inspection.
Three Representative Garage Conversion Projects from 2026
Three representative projects from 2026, scoped similarly, reconstructed from Renology's Project of the Day network and used here in aggregate form:
- The Sacramento Starter Studio ($135,000): A 400-square-foot garage conversion in a 1980s tract home. The slab was in good condition, requiring only a moisture barrier and self-leveling compound. The project used the existing framing, adding seismic strapping and new insulation. Finishes were budget-conscious: luxury vinyl tile, IKEA kitchen, and a simple bathroom layout. The biggest challenge was trenching 50 feet to the main sewer line, which added $8,000 to the plumbing budget. Total time from permit submission to final occupancy was seven months.
- The Los Angeles Creative Office ($220,000): A 450-square-foot conversion in an Echo Park bungalow from the 1950s. The original slab was cracked and unlevel, requiring a full demolition and re-pour with integrated radiant heating. The scope included vaulting the ceiling by removing old collar ties and engineering a new structural ridge beam. Large custom windows and a bifold glass door added significant cost but transformed the space. Finishes were mid-range, focusing on durability and style for a dual-use office and guest suite. The project was subject to seismic retrofitting requirements, adding $15,000 for new shear walls and foundation bolting.
- The Bay Area In-Law Suite ($350,000): A 500-square-foot conversion in Oakland's Rockridge neighborhood, attached to a 1920s Craftsman. The project was complex from the start. The garage had an unreinforced masonry foundation that had to be completely replaced. The scope involved adding a small bump-out for a separate bedroom, which triggered more extensive engineering and permitting reviews. Finishes were premium, with custom walnut cabinetry, stone countertops, and high-end fixtures to match the main house. The homeowner also opted for a solar and battery backup system, adding $30,000. Total timeline was 14 months due to engineering revisions and supply chain delays for custom windows.
The Step-by-Step Guide to Your Garage Conversion ADU
Converting a garage is building a small house. Follow the process. Don't skip steps.
- Step 1: Feasibility and Design. First, confirm you can legally convert your garage. Check local zoning, setbacks, and any HOA rules. Hire a designer or architect to create a floor plan that works with your existing footprint. This is where you decide on the layout, window placement, and door locations.
- Why: A solid plan prevents expensive changes later. The scope-lock date is your point of no return for major design decisions.
- Watch out for: Ignoring the utility connections. Your designer needs to know where the main sewer, water, and electrical panel are located from day one.
- Step 2: Engineering and Plans. Your designer's concepts go to a structural engineer. They'll calculate loads and specify what's needed to make the garage a safe, habitable structure. This includes foundation requirements, framing upgrades, shear wall locations, and any new beams. The result is a full set of construction documents.
- Why: The building department will not look at your project without a stamped set of structural plans. This is non-negotiable.
- Watch out for: Underestimating the state of the existing slab. An engineer may require soil tests or a deputy inspection to verify its thickness and reinforcement before signing off.
- Step 3: Permitting. Submit your complete plan set to your local city or county building department. In California, agencies like the Los Angeles Department of Building and Safety (LADBS) or San Diego's Development Services Department (DSD) have a 60-day "shot clock" to provide comments or approve an ADU application, thanks to state law AB 970.
- Why: A building permit makes your ADU a legal dwelling. Without it, you can't legally rent it out, it won't be recognized in your property's value, and the city can force you to tear it down.
- Watch out for: Plan check corrections. The city will almost always have comments. A good designer anticipates these and responds quickly to keep the project moving.
- Step 4: Site Prep and Foundation. Once you have a permit, work begins. This involves clearing out the garage, saw-cutting the concrete for new plumbing trenches, and addressing the foundation. Most garage slabs are not insulated or waterproofed and often need to be replaced or have a new "floating slab" poured over the top.
- Why: The foundation is the literal base for the entire project. If it's not level, insulated, and dry, everything you build on top of it will fail.
- Watch out for: Hitting unexpected pipes or rock during trenching. This is a common source of delays and change orders.
- Step 5: Framing, MEP Rough-In, and Insulation. This is where the space starts to look like a home. Framers will build new interior walls, upgrade existing garage walls, and frame the roof structure. Then, electricians and plumbers run all the new wires and pipes for the Mechanical, Electrical, and Plumbing (MEP) systems. After the MEP is inspected, insulation goes in.
- Why: The rough-in inspection is a critical milestone. A city inspector signs off on the work done inside the walls before it gets covered with drywall.
- Watch out for: Failing the rough-in inspection. A misplaced outlet or an improper plumbing vent will stop all work until it's corrected and re-inspected.
- Step 6: Finishes and Fixtures. After the walls are closed up with drywall, the finish trades take over. This includes painting, flooring installation, tiling, cabinet setting, and countertop installation. Plumbers and electricians return to install faucets, lights, and outlets (the "trim" phase).
- Why: This phase transforms the construction site into a living space. Good project management is key to sequencing the trades correctly.
- Watch out for: Material delays. A backordered tile or appliance can bring the entire project to a halt for weeks. Order your finishes early.
- Step 7: Final Inspections and Certificate of Occupancy. Once construction is complete, the city building inspector returns for a final inspection. They check everything from smoke detector placement to the grade of the walkway outside. Once you pass, the city issues a Certificate of Occupancy.
- Why: The Certificate of Occupancy is the official document that declares your garage conversion ADU a legal, habitable dwelling.
- Watch out for: The dreaded "punch list." The final inspection often generates a small list of items to correct. Your contractor must fix these before the certificate is issued.
California's Permitting Labyrinth for Garage Conversions
3 pros, editor-screened. 4 questions.
See my 3 matchesGetting a permit is the most critical hurdle. Thanks to a series of state laws, California has made the process for a garage conversion ADU more straightforward, but it's still a process. State law, outlined in the California Health and Community Development (HCD) ADU Handbook, mandates that cities must approve ADUs that meet local building codes. They can't impose subjective design standards or require excessive parking. The 60-day review period is a huge help, but that clock starts when your application is deemed "complete." Getting to that point requires a bulletproof set of plans. Your plan set must include architectural drawings, structural engineering, and often a Title 24 energy compliance report. Some jurisdictions may also require civil engineering plans for drainage or a survey. Navigating this is a job for a professional. An experienced architect or designer knows what your local department, whether it's in San Francisco or Riverside, needs to see. They can anticipate plan check comments and keep the process moving. For a deeper dive into the specifics, our guide on California garage conversion permits covers the details you need to know before you start.
What No One Else Covers: Unseen Structural Deficiencies
Every contractor's fear on a garage conversion is what we'll find when we open up the walls. A garage is a utility structure, built as cheaply as possible. It's not a house. The problems we find are predictable and fall into three categories. First, the foundation. Most pre-1990s garage slabs are "floating slabs" four inches thick at best, with no moisture barrier and minimal reinforcement. They crack. They heave. They wick moisture. They are not a suitable foundation for a habitable space and often must be replaced or capped with a new structural slab, a $10,000 to $20,000 surprise. Second, the framing. We often find undersized headers over the garage door opening. When you frame in that opening for a wall with windows, you need to support the roof load properly. This often means engineering a new, much larger beam. We also find termite damage in the sill plates or dry rot in the wall framing, especially in older homes. Third, the ghosts of old systems. In homes from the 1960s or earlier, like many LA Tudors or Bay Area bungalows, we occasionally find remnants of knob-and-tube wiring still live in the attic space above the garage, a major fire hazard that must be fully abated. These are not edge cases. I've seen at least one of these issues in over half the garages I've torn into. Your budget needs to account for the garage's past life.

Regional Realities: Seismic, Wildfire, and Coastal Risks
California is not one place. Your garage conversion ADU project must be designed for your specific regional risk. In most of the state, seismic concerns are paramount. Your conversion will trigger a seismic retrofit. This typically means bolting the new walls to the foundation and adding plywood shear walls to resist lateral movement during an earthquake. The California Existing Building Code provides prescriptive standards for this. In hillside communities from the Hollywood Hills to the Berkeley Hills, this can be even more extensive. If you're in a designated Wildland-Urban Interface (WUI) zone, which now covers large parts of San Diego, Marin, and Riverside counties, your ADU must comply with Chapter 7A of the building code. This means ignition-resistant siding, multi-pane tempered glass windows, and vents designed to keep embers out. These are not optional upgrades. They are life-safety requirements that add 5 to 10 percent to your materials cost. Along the coast, from Mar Vista to Santa Cruz, the enemy is salt air. All metal connectors, fasteners, and flashing must be stainless steel or hot-dip galvanized to prevent corrosion. Windows need to be rated for coastal conditions. A failure to specify the right materials means your structure will start to degrade in a few years. Your contractor must know the specific requirements for your exact location.
DIY vs. Hiring a Pro: A Contractor's View
It is technically possible to act as an owner-builder on your garage conversion ADU. I strongly advise against it. This is not a cosmetic remodel. It involves every major trade, significant structural changes, and multiple inspections. A general contractor's job is not just to hire subcontractors. It's to manage sequence, liability, and quality control. They are responsible for ensuring the plumber's work doesn't conflict with the framer's, and that everything is done to code before the inspector shows up. A good GC has a roster of trusted, licensed subcontractors they've worked with for years. As an owner-builder, you're hiring strangers and hoping for the best. The risk of costly mistakes is enormous. A failed waterproofing detail can lead to mold. A miscalculation in the framing can cause structural sagging., the time commitment is huge. You would need to be on-site daily to coordinate work and meet inspectors. If you have a full-time job, it's not feasible. The money you think you're saving on the GC's fee (typically 15 to 20 percent) is often lost to mistakes, delays, and paying higher rates to subcontractors who don't know you. If you're looking for a qualified professional, a service like Renology's vetted contractor matching quiz can connect you with GCs who specialize in ADUs in your area.
How to Save Money Without Cutting Corners
True savings come from smart planning, not cheap materials. The best way to control costs is to finalize your design and material choices before construction begins. Every change you make after the work starts is a change order, which comes with a premium for labor and administrative time. Here are four practical ways to save: First, keep your plumbing consolidated. Design the kitchen and bathroom to share a common "wet wall." This minimizes complex and expensive plumbing runs under the slab. Second, work within the existing footprint. Any addition or bump-out, no matter how small, adds significant cost in foundation, roofing, and engineering. Third, choose standard-size windows and doors. Custom sizes are a major cost driver and can have long lead times. Fourth, select durable, builder-grade finishes. You can always upgrade faucets or light fixtures later. Focus your budget on the things you can't change: a solid foundation, proper insulation, and good windows. A high-end faucet on a leaky pipe is not a win. You can also explore cost calculators to model different scenarios, but remember they are only estimates. A tool like the garage conversion cost calculator can give you a starting point for your budget discussions.
Planning for the Inevitable: Delays and Budget Contingency
No project goes exactly to plan. A realistic timeline for a garage conversion ADU is 10 weeks if nothing surprises you, 14 if the slab moves or an inspector finds an issue with the main house's electrical panel. Your schedule should account for permitting, material lead times, and inspections. The biggest variable is unforeseen conditions. The National Association of Home Builders recommends a ten to fifteen percent contingency on renovations in homes over thirty years old. For a garage conversion, I tell my clients to hold back a hard 15 percent. This isn't "slush fund" money. It's a dedicated budget for dealing with reality. This contingency covers things like discovering the main sewer line is cracked cast iron and needs to be replaced, finding that the main electrical panel is maxed out and needs a heavy-up, or dealing with a week of rain that halts all foundation work. If you have a $200,000 construction budget, you need an additional $30,000 in the bank that you do not touch unless a structural or safety issue requires it. If you get lucky and don't need it, you have a bonus for landscaping or furniture at the end. But building without a contingency is just gambling.
The Renology Take
A garage conversion ADU is the smartest way for many Californians to add value and utility to their property. But the core misunderstanding we see is homeowners treating it like a room remodel. It is not. It is the construction of a new, small home inside the shell of an old, poorly built structure. The project's success hinges entirely on acknowledging this from day one. Your budget, timeline, and expectations must be based on new construction principles. The garage is not an asset; it's a starting point, and often a liability. The slab is likely wrong, the framing is likely inadequate, and the utilities are not where you need them. Success means investing in a great designer and a structural engineer first, and then hiring a contractor who specializes in this exact type of project. Don't cheap out on the bones of the building. Get the foundation, framing, waterproofing, and insulation right, and you'll have a durable, valuable asset for decades.
Project Checklist
- Research Phase: Confirm local zoning and eligibility. Talk to at least three design-build firms or contractors who specialize in ADUs.
- Design & Budgeting: Hire a designer/architect. Develop a floor plan. Get a detailed cost estimate and establish a 15% contingency fund.
- Engineering & Permitting: Obtain stamped structural and energy plans. Submit a complete permit application to your local building department.
- Contractor Selection: Vet and hire a licensed, insured General Contractor. Sign a detailed contract (AIA contracts are the industry standard).
- Construction Phase: Schedule and pass all required city inspections: foundation, framing, MEP rough-in, insulation, and final.
- Completion: Complete the contractor's punch list. Obtain your Certificate of Occupancy from the city.
Sources & Methodology
Renology reviews public permit and labor signals, supplier pricing, remodeler quote patterns, comparable projects, the Renology Cost Index, and the Renology Methodology. Cost references are planning ranges for local renovation projects, not fixed bids.
- California Department of Housing and Community Development (HCD), "Accessory Dwelling Unit Handbook," December 2022
- California Legislative Information, Assembly Bill 68 (2019-2020)
- California Legislative Information, Assembly Bill 970 (2019-2020)
- National Association of Home Builders (NAHB), "Remodeling Market Index," Q1 2026
- California Department of Industrial Relations, "General Prevailing Wage Determinations," 2026
- U.S. Bureau of Labor Statistics, "Producer Price Index - Construction Materials," 2026
- National Association of Realtors, "Remodeling Impact Report," 2024
- Los Angeles Department of Building and Safety (LADBS), "ADU/JADU Standard Plans Program," 2025
- California Building Standards Commission, "California Existing Building Code (CEBC)," 2022
- AIA Contract Documents, "A101-2017 Standard Form of Agreement Between Owner and Contractor," 2017
Frequently Asked Questions
What is the first step to converting my garage?
Do I need to replace my garage's concrete slab?
How do I get utilities (water, sewer, electricity) to my ADU?
Can I build an ADU if my garage is unpermitted?
Do I need to provide parking for my garage conversion ADU?
How long does it take to get ADU permits in California?
Can I rent my garage conversion ADU on Airbnb?
Will converting my garage increase my property taxes?
Get 3 ADU bids in 48 hours.
Our editors already vetted ADU builders. Answer 4 questions and we send 3 written bids inside 48 hours, with the real price for your scope, not their inflated first-call number.
- Free, no commission
- Pre-screened locally
- Bids inside 48 hours
Takes about 60 seconds. We'll text you when bids arrive.
Sources
- California Department of Housing and Community Development (HCD), "Accessory Dwelling Unit Handbook"
- California Legislative Information, Assembly Bill 68
- California Legislative Information, Assembly Bill 970
- National Association of Home Builders (NAHB), "Remodeling Market Index"
- California Department of Industrial Relations, "General Prevailing Wage Determinations"
- U.S. Bureau of Labor Statistics, "Producer Price Index - Construction Materials"
- National Association of Realtors, "Remodeling Impact Report"
- Los Angeles Department of Building and Safety (LADBS), "ADU/JADU Standard Plans Program"
- California Building Standards Commission, "California Existing Building Code (CEBC)"
- AIA Contract Documents, "A101-2017 Standard Form of Agreement Between Owner and Contractor"