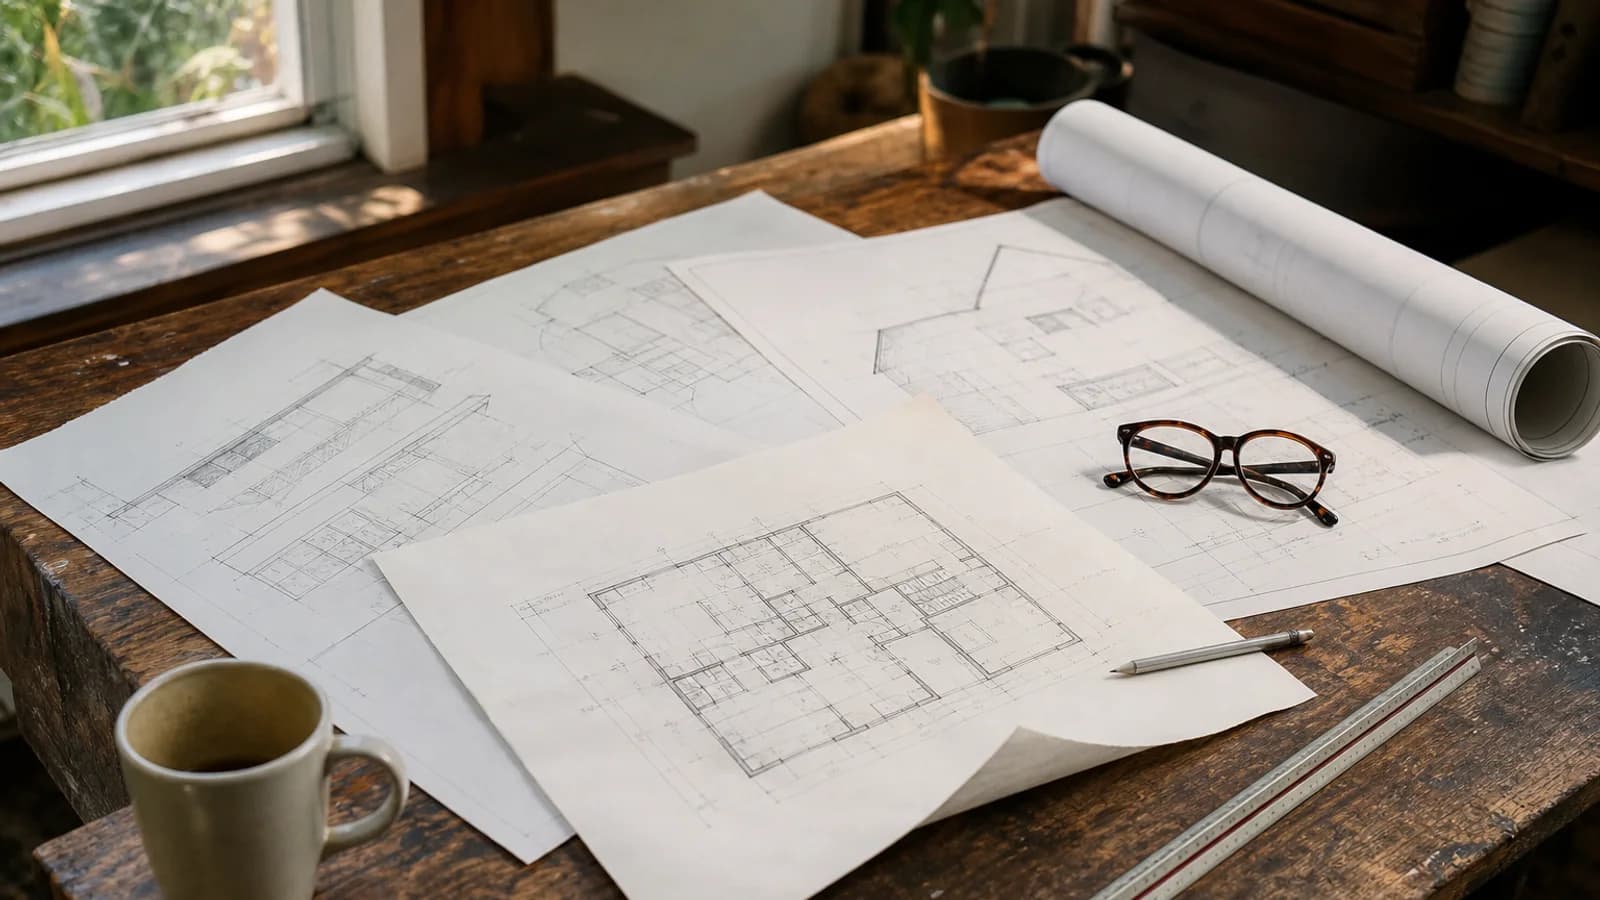
Accessory dwelling unit plans are where a California ADU actually begins. Before a permit, before a contractor, before a single yard of concrete, a plan set has to say what you are building, prove it meets code, and survive plan check. For a typical project that set runs 8 to 15 percent of the construction cost, and the eight to twenty weeks it takes to produce are time you cannot buy back later. This guide covers what a permit-ready set contains, where to get one, what it costs in 2026, and how to move it through the city without a second round.
What Goes Into a Full Set of ADU Plans?
A permit-ready set of accessory dwelling unit plans isn't just a floor plan sketch. It’s a comprehensive package of documents that tells the city exactly what you’re building and tells your contractor exactly how to build it. Think of it as the instruction manual for your project. A complete set, often called construction documents, typically includes five key components. First is the site plan, showing the entire property, the location of the proposed ADU, property lines, setbacks, and utility connections. Second are the architectural plans: floor plans showing the layout, elevations showing the exterior from all sides, and sections cutting through the structure to show construction details. Third, you'll have structural plans and calculations from a licensed engineer. These specify the foundation, framing, shear walls, and the continuous load path required to handle gravity and seismic forces. This is non-negotiable in California. Fourth is the Title 24 Energy Compliance Report, which proves the design meets California's strict energy efficiency standards for insulation, windows, and HVAC systems. Finally, you might have plumbing, electrical, and mechanical plans, especially for more complex builds. Without every one of these pieces, your application won't even be accepted for review at the counter.
Related guide: Accessory Dwelling Unit For Rent in California
Related guide: Accessory Dwelling Unit For Sale in California
Why Solid Plans Are Your Best Investment
Spending money on good plans feels intangible, but it saves you a fortune in the field. A well-detailed plan is your primary defense against scope creep, change orders, and construction delays. When the drawings are clear, the bids you get from contractors are more accurate because everyone is pricing the same scope of work. Ambiguity in the plans leads to ambiguity in the price. More importantly, solid plans get you through city inspection. An inspector’s job is to verify that the structure is built exactly to the approved drawings. If your framer has to guess where to put a shear wall because the plan is vague, you will fail your framing inspection. That’s a stop-work order, followed by delays and costly rework. I’ve seen projects stall for weeks over a missing detail on a structural drawing. The plan is also a legal document. It’s part of your contract with the builder. If a dispute arises, the plans are what everyone refers back to. They protect you by defining exactly what you paid for. Don't cheap out here. Pay for a professional, get a bulletproof set of documents, and the rest of the project will follow that lead.
Step 1: Define Your ADU’s Goal and Scope
First, decide the job of this ADU. Is it for rental income, an aging parent, or a home office? The answer dictates the design. A rental unit needs a durable, low-maintenance finish and a layout that appeals to the market, often with a private entrance and some outdoor space. A unit for an elderly family member requires accessibility features like a zero-threshold shower, wider doorways, and single-story living. A home office might prioritize sound insulation, natural light, and dedicated data lines over a large kitchen. Your goal defines the scope. Once you know the 'why,' you can determine the 'what': a detached new build, a garage conversion, or an attached unit. Each has different cost and construction implications. A garage conversion uses an existing structure but often requires a new foundation slab and significant seismic upgrades. A new build offers total design freedom but at a higher cost. Getting this straight upfront prevents expensive redesigns later. This initial decision is the foundation for your ADU guide to a successful project.
Why: A clear goal prevents scope creep and ensures the final product meets your actual needs, not just a trend.
Watch out for: Over-designing a rental unit with high-end finishes that you’ll never recoup in rent.
Step 2: Conduct a Feasibility Study
Before you hire an architect, do your own homework. Pull your property’s parcel map from your county assessor’s office website. Measure your yard. Understand your basic constraints. California state law, specifically AB 68 and subsequent updates, has streamlined ADU development and mandates that cities allow at least an 800-square-foot ADU with 4-foot side and rear setbacks. However, local ordinances can still influence factors like height, lot coverage, and architectural styles, especially in areas with specific design overlays like historic districts in Pasadena or coastal zones in San Diego. Check your local planning department’s website for their ADU ordinance. Look for a pre-approved plans program, which many cities like Los Angeles and San Jose now offer to expedite the process. Identify potential killers early. Are there power lines over your ideal building spot? Is the sewer line on the opposite side of the property? An expensive sewer trench can blow a budget before you’ve even poured concrete. This initial research costs you nothing but a few hours and can save you thousands in professional fees chasing a design that was never feasible. A quick check on our ADU cost calculator can also help set a realistic budget from the start.
Why: Understanding your site and local rules early prevents you from spending money on plans that can't be built.
Watch out for: Assuming state law overrides all local rules; cities still have control over certain design elements.
Step 3: Choose Your Plan Source
You have three main paths to get your accessory dwelling unit plans: buying stock plans online, hiring an architect for a custom design, or working with a design-build firm. Stock plans are the cheapest and fastest option, costing a few thousand dollars. You buy a pre-designed plan and hire a local engineer to adapt it to your site and California's seismic and energy codes. The downside is that it won't be tailored to your specific lot or needs. Custom plans from an architect or designer offer complete freedom. They will design a unit perfectly suited to your property, maximizing views, light, and functionality. This is the most expensive route for design, with architectural fees often running 8 to 15 percent of the total construction cost. The third option, design-build, combines design and construction services under one contract. This can streamline the process and improve communication, as the designer and builder are on the same team from day one. This often provides the best balance of customization and cost control. Evaluate each based on your budget, timeline, and desire for a unique space. For many, a design-build firm that specializes in ADU construction offers the most practical path forward.
Why: Your choice of plan source directly impacts your project's cost, timeline, and final quality.
Watch out for: Buying stock plans online that weren't designed for California; they will require significant and costly engineering to meet seismic and Title 24 standards.
Step 4: Assemble Your Professional Team
No ADU gets built without a team. At a minimum, you will need a designer or architect and a structural engineer. You may also need a surveyor and a Title 24 energy consultant. The architect or designer translates your vision into a buildable design that complies with zoning and building codes. The structural engineer makes sure it won’t fall down, designing the foundation, framing, and shear systems required for California’s earthquake country. They put their stamp on the drawings, which is a legal requirement for getting a permit. A surveyor may be needed to create a topographical map and officially locate property lines, especially on sloped or irregularly shaped lots. The energy consultant runs the calculations to produce the Title 24 report. Some architects handle this in-house; others subcontract it. When vetting professionals, ask to see their portfolio of built ADUs in your area. Check their license with the California Architects Board or the Board for Professional Engineers, Land Surveyors, and Geologists. A good professional will know the local planners and what they look for, which can save you months in plan check revisions. This team is your guide through a complex process.
Why: Licensed professionals are legally required to stamp your plans and are your best defense against code violations and structural failure.
Watch out for: Unlicensed designers or “drafters” who can produce drawings but cannot legally approve them for submission, leaving you stuck with unusable plans.
Step 5: Develop from Schematic to Construction Documents
Designing your ADU happens in phases. It starts with schematic design, which is the big-picture stage. Your designer will take your goals and site information and produce rough sketches, bubble diagrams, and basic floor plans to establish the general layout and flow. This is the time to make big changes. Moving a wall on paper costs nothing. Once you approve a schematic design, the project moves into design development. Here, the plans get more detailed. You’ll select materials, fixtures, windows, and doors. The elevations are refined to show the final exterior look. After you sign off on this stage, your architect and engineer begin the final, most detailed phase: construction documents. This is the creation of the complete set of plans for the city and your builder. Every structural connection, every electrical outlet, every plumbing line is specified. This is your project’s DNA. Once you hit this stage, changes become very expensive. A change during construction documents might require the engineer to recalculate loads, which costs you time and money. A change after the permit is issued requires a formal revision and resubmittal to the city. Lock in your decisions during design development to keep the project on track. This process can take anywhere from 8 to 20 weeks, depending on complexity and your own decision-making speed.
Why: A phased design process allows you to make decisions methodically and prevents costly changes once detailed engineering has begun.

Watch out for: Rushing through schematic design; a flawed layout is the hardest and most expensive problem to fix later on.
Step 6: Work through the Permit Submission Process
3 ADU builders, editor-screened. 4 questions.
See my 3 matchesWith a complete set of construction documents in hand, you’re ready to pull a permit. This process, known as plan check, involves submitting your accessory dwelling unit plans to your local city or county building department (like LADBS in Los Angeles or SFDBI in San Francisco). A plans examiner will review every page to ensure it complies with the California Building Code, local zoning ordinances, and public works requirements. State law (AB 970) now imposes a 60-day “shot clock” for municipalities to act on ADU applications, but this doesn’t mean you’ll have a permit in 60 days flat. It means they must provide comments or an approval within that timeframe. The first review almost always comes back with corrections, known as redlines. Your architect and engineer will then revise the plans and resubmit. This back-and-forth can take a few rounds. Common hang-ups include incorrect setback notations, missing structural details, or an incomplete Title 24 report. Having a design professional who knows the local department and its specific submission requirements is invaluable here. They can often anticipate common redlines and address them before the first submission. Once all departments (Building & Safety, Planning, Public Works, sometimes Fire) have signed off, you will pay the permit fees and receive your approved, stamped set of plans and the inspection card. No work can legally begin until that permit is posted at the job site.
Why: The permit is your legal permission to build, and the inspection process ensures the work is done safely and to code.
Watch out for: Starting any demolition or construction before the permit is officially issued; this can result in fines, stop-work orders, and having to tear out uninspected work.
Cost Breakdown for ADU Plans in California
The cost of the plans themselves is a fraction of the total project budget, but it’s a critical upfront investment. For a typical ADU in California, expect to pay between 8% and 15% of your total construction cost for design, engineering, and permitting fees. This breaks down into several parts. Architectural or design fees can range from $8,000 in a lower-cost area like Bakersfield for a simple design to over $30,000 in the Bay Area for a complex custom unit. Structural engineering fees typically add another $3,000 to $6,000. The Title 24 energy report will cost around $500 to $800. A topographical survey, if needed, can run $1,500 to $3,000. Finally, the plan check and permit fees paid to the city are highly variable. They are often based on the project valuation and can range from $4,000 to over $20,000, depending on the jurisdiction and any associated impact fees. For a project with a total construction cost of $300,000, it's reasonable to budget $24,000 to $45,000 for all these pre-construction professional services and fees. This investment ensures your project is buildable, legal, and safe. You can use our garage conversion cost calculator to see how these soft costs fit into a specific project type.
Representative ADU Project Costs from 2026
Three representative projects from 2026, scoped similarly, reconstructed from Renology's Project of the Day network and used here in aggregate form:
- Fresno Garage Conversion (400 sq. ft.): A straightforward conversion of a detached garage into a studio ADU. The project required a new slab, seismic retrofitting of the existing structure, and all new utilities trenched from the main house. The homeowner chose mid-grade finishes. Total Cost: $135,000. Soft costs (plans, engineering, permits) were approximately $15,000 of the total.
- San Diego Detached New Build (750 sq. ft.): A one-bedroom, one-bath new construction ADU built on a flat lot in the North Park neighborhood. The design featured a simple rectangular footprint with a stucco exterior to match the main house. The project involved a standard slab-on-grade foundation and pre-fabricated roof trusses. Total Cost: $320,000. Soft costs were approximately $35,000.
- Los Gatos Custom New Build (1,000 sq. ft.): A two-bedroom ADU on a sloped lot requiring a more complex stepped foundation and retaining walls. The design included higher-end finishes, vaulted ceilings, and large bi-fold doors. The hillside location in a high-cost area drove up labor and material expenses. Total Cost: $510,000. Soft costs were approximately $60,000.
Representative projects from the article; soft costs ran 8 to 15 percent of construction cost.
Managing Your Budget and Avoiding Overruns
The best tool against budget overruns is a locked-down scope of work based on detailed plans. Before you sign a construction contract, make sure every finish and fixture is specified in the documents, from the model of the faucet to the brand of the paint. These details, captured in a “finish schedule,” prevent ambiguity and the dreaded allowance system, where a contractor puts a placeholder budget for an item. Allowances almost always lead to overages. Once construction starts, control changes ruthlessly. Every change order, no matter how small, has a ripple effect on cost and schedule. Establish a clear process for any changes, requiring them to be in writing with a fixed price before work proceeds. The National Association of Home Builders recommends a ten to fifteen percent contingency on renovations in homes over thirty years old. For new construction like an ADU, a 10% contingency is still wise. This is a separate fund you hold, not part of the construction contract. It’s there for true surprises, like hitting an old septic tank during excavation, not for upgrading your countertops mid-project. A good contractor will help you value-engineer the project from the start, suggesting less expensive materials or methods to meet your budget without compromising quality. Explore options with a vetted professional using our contractor matching service.
Information Gain: Navigating California's Regional Hazards in Your Plans
What no one tells you is that your accessory dwelling unit plans must be a direct response to your specific location's risks. California isn’t one place; it’s a collection of micro-climates and geologic zones. Your plans must reflect this. If you’re building in a seismic zone like most of coastal California, from Eureka to San Diego, your structural plans are paramount. The engineer will specify solid shear walls, foundation hold-downs, and continuous load paths that go far beyond what’s required in other states. This isn’t optional; it’s life safety. For homes in the Wildland-Urban Interface (WUI), which includes large parts of San Diego County, the Santa Monica Mountains, and the Sierra foothills, your plans must include a whole chapter on fire hardening. This means specifying non-combustible siding like fiber cement, tempered glass windows, and specific vent types that prevent ember intrusion. Your site plan will also need to show a defensible space, which is mandated by Cal Fire. Along the coast, from Mar Vista to La Jolla, humidity and salt air are your enemy. Your plans should specify corrosion-resistant hardware, like stainless steel fasteners and hot-dip galvanized connectors, and a solid weather-resistive barrier system to prevent moisture intrusion and dry rot. In the Central Valley, the challenge is extreme heat. Your Title 24 report will be critical, driving decisions for cool roofs, high-performance windows, and properly sized HVAC systems. A generic plan bought online will not account for these specific, localized, and code-mandated requirements. Your design professional must be an expert in your region’s unique risks.
Project Timeline: From Concept to Permit in Hand
Getting your ADU plans from an idea to a stamped set approved by the city is a marathon, not a sprint. Be realistic. A typical timeline for the pre-construction phase in California is six to nine months. It can be faster, but don't bank on it. Here’s a pragmatic breakdown. Phase 1: Research and Team Selection (1 to 2 months). This is you doing your homework, interviewing architects and builders. Phase 2: Design (2 to 4 months). This covers schematic design, design development, and the production of final construction documents. This phase is heavily dependent on your own decisiveness. Indecision is a schedule killer. Phase 3: Engineering (3 to 6 weeks). This often runs parallel to the final stages of architectural design. The engineer can’t finish their work until the architectural plans are locked. Phase 4: Permitting (2 to 4 months). While the state has a 60-day review clock, the total time from first submission to permit-in-hand often takes longer due to necessary revisions and resubmittals. This timeline assumes no major surprises. If you need a zoning variance or are in a coastal commission or historical preservation zone, add several more months. The permit timeline tool can help you visualize these steps. The key is to understand that good plans take time to develop. Rushing this stage only leads to errors, which will cost you far more time during construction.
Checklist: Your Path to Approved ADU Plans
- Goal Definition: Clearly define the primary use for your ADU (rental, family, office).
- Feasibility Research: Check your local zoning code and measure your property for setbacks and buildable area.
- Budgeting: Establish a realistic all-in budget, including 10% contingency and soft costs.
- Professional Vetting: Interview at least three designers or design-build firms. Check licenses and references.
- Team Assembly: Formally engage your designer/architect and structural engineer.
- Schematic Design Approval: Sign off on the basic layout and form of the ADU.
- Design Development Lock-in: Finalize all materials, fixtures, windows, and doors.
- Construction Document Review: Thoroughly review the final plans before they are sent to the engineer.
- Engineering Review: Ensure the structural, electrical, and mechanical plans are fully coordinated.
- Permit Submission: Confirm your designer has submitted the complete package to the building department.
- Plan Check Corrections: Work with your team to promptly address any city comments.
- Permit Issuance: Pay all fees and receive your stamped plans and permit card.
Sources & Methodology
See the Renology Methodology for how sources are reviewed, ranges are normalized, and planning-data limits are handled.
Cost ranges in this guide draw on the following named industry sources, public agency datasets, and Renology editorial research.
- California Department of Housing and Community Development (HCD) ADU Handbook (2023)
- California Assembly Bill 68 (AB 68) (2019)
- California Assembly Bill 970 (AB 970) (2020)
- California Assembly Bill 1033 (AB 1033) (2024)
- National Association of Home Builders (NAHB) (2025)
- California Building Standards Code (Title 24) (2022)
- Los Angeles Department of Building and Safety (LADBS) Standard ADU Plans Program (2024)
- California Department of Industrial Relations, Prevailing Wage Data for Los Angeles County (2026)
- Cal Fire, Wildland-Urban Interface (WUI) Building Codes (2023)
- American Institute of Architects (AIA) Contract Documents (2024)
- California Board for Professional Engineers, Land Surveyors, and Geologists (2026)
Renology Take
The biggest mistake homeowners make is treating accessory dwelling unit plans as a commodity. They price-shop for the cheapest drafter, thinking all plans are the same. They are not. A good set of plans is a risk-management tool. It is the single most important document that protects your investment, your timeline, and your safety. The details in those drawings are what prevent a $10,000 change order when a beam doesn't fit. They are what ensure you pass a seismic inspection after spending $50,000 on a foundation. In California, with our complex codes, seismic risks, and fire zones, the quality of your plans directly correlates to the success of your project. Don't think of it as an expense. Think of it as the best insurance you can buy against the chaos of construction.
Frequently Asked Questions
How much do accessory dwelling unit plans cost in California?
Can I draw my own ADU plans?
How long does it take to get ADU plans approved in California?
What is the difference between stock plans and custom plans?
What is a Title 24 report and why do I need it?
Does state law let me build an ADU anywhere on my property?
What is the role of a structural engineer in designing an ADU?
Do I need a permit for a small ADU or a garage conversion?
Ready to find a pro?
Tell us about your project and location. A Renology advisor can help you explore contractor matching.
Free for homeowners. No obligation to hire.
Find a ProSources
- California Department of Housing and Community Development (HCD) ADU Handbook
- California Assembly Bill 68 (AB 68)
- California Assembly Bill 970 (AB 970)
- California Assembly Bill 1033 (AB 1033)
- National Association of Home Builders (NAHB)
- California Building Standards Code (Title 24)
- Los Angeles Department of Building and Safety (LADBS) Standard ADU Plans Program
- California Department of Industrial Relations, Prevailing Wage Data for Los Angeles County
- Cal Fire, Wildland-Urban Interface (WUI) Building Codes
- American Institute of Architects (AIA) Contract Documents
- California Board for Professional Engineers, Land Surveyors, and Geologists
Follow Renology on Google
Choose Renology as a preferred source and our guides show up more often in your Google results, including Top Stories and AI Overviews.