A typical Accessory Dwelling Unit project in Seattle runs fifteen to thirty percent over budget. For a project initially quoted at $400,000, that’s a $60,000 to $120,000 surprise. These overruns aren't acts of God. They are the predictable result of a handful of early-stage mistakes that I see homeowners make again and again. The good news is they are entirely avoidable if you know what to look for before breaking ground.
In a Nutshell
The average budget overrun on a Seattle ADU build is $85,000 and adds four months to the timeline. Most errors stem from underestimating Seattle-specific site conditions, hiring the wrong team, and making design decisions too late. The single most important move you can make this week is to schedule a geotechnical engineer to assess your property before you even speak to an architect.
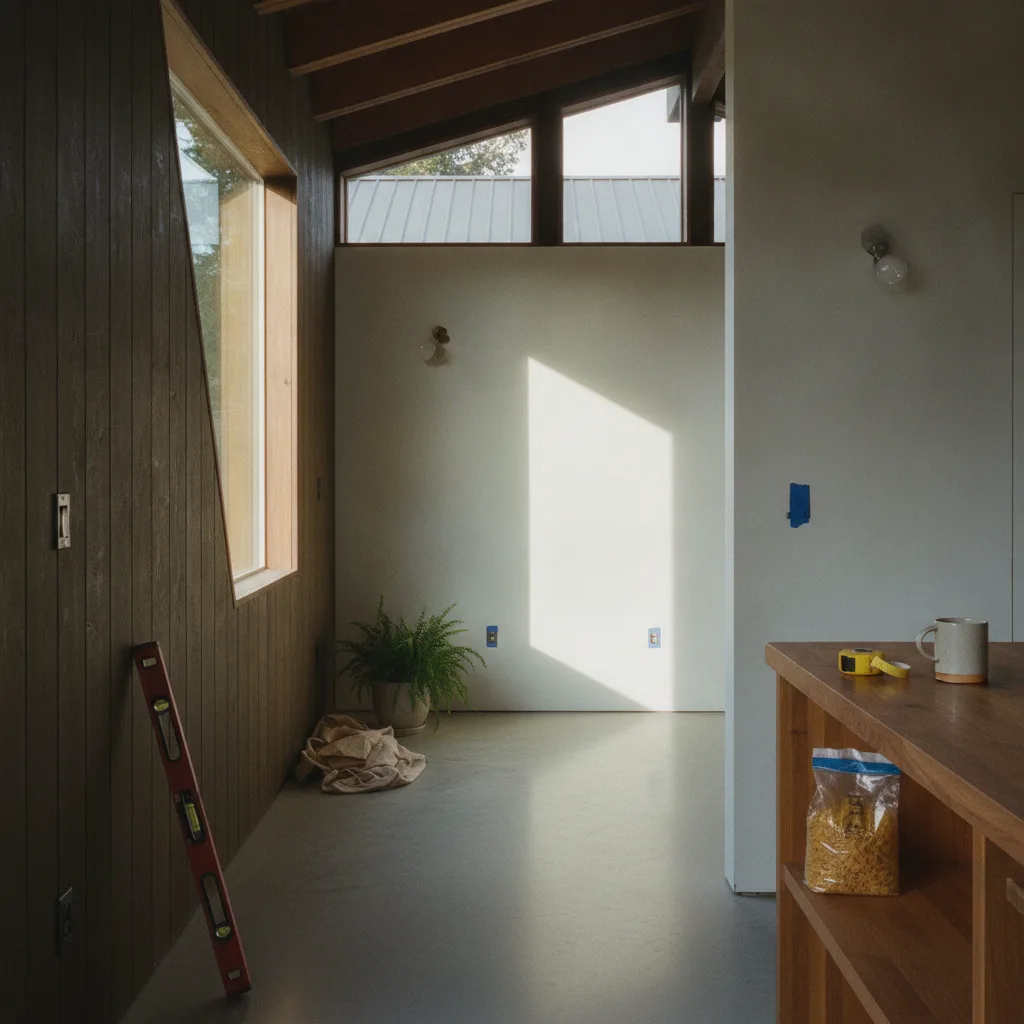
Mistake #1: Underestimating Seattle's Treacherous Site Prep
Most homeowners look at their relatively flat, grassy backyard and assume site prep will be straightforward. This is a dangerously expensive assumption in King County. The core problem is Seattle's geology and climate. Much of the city is built on glacial till, a dense, unpredictable mix of clay, sand, and rock that is difficult to excavate and provides poor drainage. Compounded by our near-constant rainfall, this creates significant water management challenges that can destabilize a foundation if not handled correctly. A project in a sloped area like Queen Anne or West Seattle can easily require an extra $50,000 in retaining walls and complex foundation work that was never in the initial budget. The fix is to de-risk the ground beneath your feet before you finalize a design. Do not accept a contractor's guess. I insist my clients hire a geotechnical engineer for a formal report. It costs a few thousand dollars, but it can save you fifty thousand in surprise excavation, drainage systems, and seismic retrofitting costs later. This report becomes the foundation, literally, of an accurate bid from an experienced adu contractor seattle.
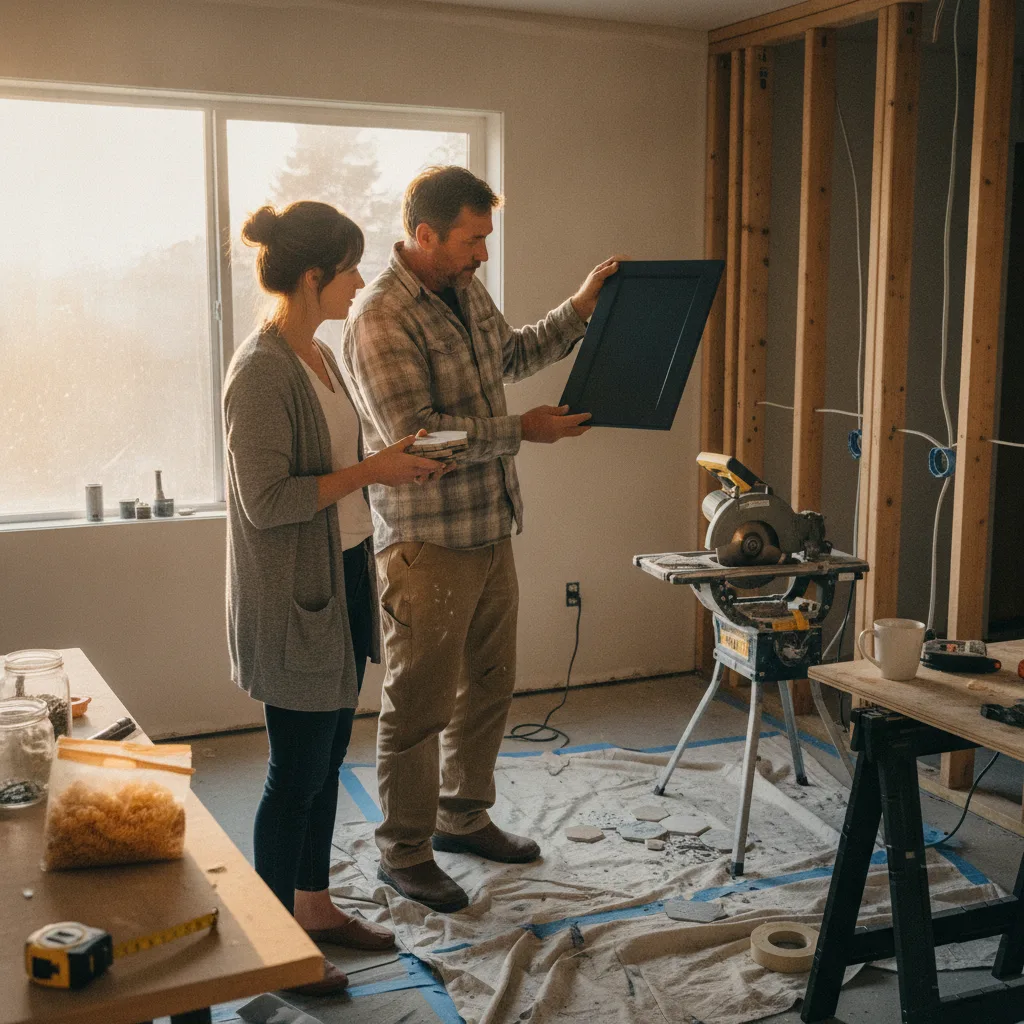
Mistake #2: Hiring a Generalist Over an ADU Specialist
Homeowners often default to a general contractor who did a great kitchen remodel for a friend. This is a category error. Building an ADU is not a remodel; it's a miniaturized new home construction project, complete with its own set of Byzantine rules. An ADU specialist lives and breathes Seattle's specific land use codes, understands the nuances of setting up new utility connections with Seattle Public Utilities (SPU) and Seattle City Light, and knows the DCI plan reviewers by name. A generalist, however competent, will be learning on your dime. This learning curve translates into failed inspections, expensive rework, and months of delays. I've seen projects stall for six months because the contractor didn't understand the side sewer capacity requirements or the proper process for getting a new electrical service drop. The fix is to vet your builder's specific ADU experience. Your interview process must be rigorous. Get three quotes. Check three references from past ADU clients. Visit one finished job before signing any contract. A true ADU specialist will have a portfolio of completed projects in Seattle and can walk you through the exact permitting and construction sequence.
Mistake #3: Picking Finishes for Instagram, Not the Puget Sound
This is the mistake that pains me most as a finish specialist. A homeowner spends hours creating a mood board of beautiful, light-filled ADUs from Southern California, then tries to replicate it in the Pacific Northwest. The result is a maintenance nightmare. That stunning, clear-grain cedar siding with no visible stain? In our climate, it will be a streaked, mildewed mess in two years. Those trendy, black-framed steel windows? If they aren't thermally broken, they will weep condensation all winter, rotting your sills and creating a perfect environment for mold. The cost of premature failure and constant upkeep quickly erases any initial savings. The fix is to choose materials for durability in a damp, temperate climate. Your exterior palette must be bulletproof. I specify James Hardie ColorPlus fiber cement siding for almost every project; it’s stable, holds its color, and resists moisture. For windows, Marvin Ultrex fiberglass or a high-quality vinyl from a brand like Milgard are essential. Inside, every wet area needs a comprehensive waterproofing system like Schluter-KERDI behind the tile. Your design should serve the climate, not fight it. Long-term performance is the only metric that matters.
Mistake #4: Ignoring the True Cost of Utility Connections
Most quotes present utility hookups as a simple line item, which homeowners glance at and approve. This often represents a placeholder allowance, not a hard bid. The reality of connecting a new dwelling to Seattle's aging infrastructure can be a financial shock. The cost to trench from the street, tap into the main water and sewer lines, and run electrical conduit can easily exceed $40,000, and in complex cases, I've seen it top $75,000. The variables are enormous. Is your side sewer old clay pipe that needs to be replaced to handle the extra load? That's a $15,000 problem. Is your home's electrical panel already maxed out? A heavy-up to 200-amp service with a new mast and meter is another $10,000. Is the water main on the other side of the street? That means traffic control and asphalt patching, adding thousands more. The fix is to demand a thorough utility plan and a firm bid before signing the master contract. An experienced adu seattle builder will conduct a site survey, consult with SPU and City Light, and may even use a camera to scope the side sewer. Never accept a simple allowance for utilities; it is the most common place for a budget to implode.
Mistake #5: Rushing the Design to Get a Permit
Everyone wants to get building, so they rush through design to get their permit application submitted to the Seattle Department of Construction & Inspections (DCI). This haste is the direct cause of the most expensive problem in construction: change orders. A rushed design is an incomplete design. It means you haven't decided on the exact lighting fixtures, the specific tile, the cabinet layout, or the precise location of every single outlet. When the builder asks you for those decisions mid-construction, any deviation from the original plan constitutes a change order, which comes with inflated material costs and labor fees. A simple request to move a wall six inches can cost thousands in reframing, electrical, and drywall rework. The fix is to treat the design phase as the most critical part of the project. Work with your architect or design-build firm to create a construction set so detailed that there are no questions left to ask. Every finish, fixture, and paint color (like Benjamin Moore Chantilly Lace) should be specified and documented. For a clear path through the city's requirements, consult our Seattle ADU permit playbook for 2026. Locking in decisions before construction starts is how you lock in your budget.
Mistake #6: Falling for the Unusually Low Bid
When you get three bids and one comes in twenty percent below the others, it's not a bargain. It's a warning. Homeowners, eager to save money, often jump at the low number without questioning what's missing. An artificially low bid is a business strategy. The contractor is either desperate for work, incompetent at estimating, or, most likely, planning to make their profit on change orders once the project is underway and you're a captive client. These bids often have vague or non-existent allowances for key items like flooring, tile, or plumbing fixtures. They might omit crucial scope like landscaping, fencing, or final cleanup. The cost to bring these missing items up to the standard of the other bids will invariably erase the initial savings and then some. I see this happen constantly. The homeowner ends up paying more than the highest initial bid by the time the project is done. The fix is a forensic-level comparison of all bids. Put them in a spreadsheet and compare every line item. If one bid has a $5,000 allowance for site prep and the others have $25,000, you have found the red flag. A detailed, transparent bid is the mark of a professional. A vague, low bid is the mark of a future problem.
Mistake #7: Forgetting the ADU Has to Operate Like a Business
The focus during a build is almost entirely on the upfront adu seattle cost. Homeowners fight to save every dollar on construction, but they forget that the ADU is a small house they will have to operate and maintain for decades. Opting for a cheaper, less efficient HVAC system, minimal insulation, or lower-quality windows to save $10,000 upfront can cost you $20,000 in higher utility bills and premature replacement costs over the next fifteen years. This is especially true in Seattle, where heating is a major annual expense., the ADU will trigger a reassessment of your property taxes, and you'll need a separate insurance rider. These are not one-time costs; they are permanent additions to your monthly overhead. The fix is to model the total cost of ownership, not just the cost of construction. Invest in the building envelope and systems. A high-efficiency ductless heat pump, continuous exterior insulation, and quality fiberglass windows will pay dividends every single month. When you build to a higher performance standard, you lower your operating costs, increase the unit's rental value, and create a more comfortable, durable asset.
The True Cost of an ADU in Seattle: 2026 Projections
The final, all-in cost for a detached ADU (DADU) in Seattle is a frequent source of confusion. Online calculators often omit critical expenses like site prep, utility connections, and design fees. While a simple garage conversion or attached ADU (AADU) refresh can start lower, a typical new-build DADU is a significant investment. Based on Washington State L&I contractor licensing and labor rate data, skilled labor is the primary cost driver. The National Association of Home Builders recommends a ten to fifteen percent contingency on renovations in homes over thirty years old; for new ADU construction on older lots, I tell clients to hold a firm fifteen percent. It's essential to budget for the complete project scope, not just the builder's contract.
Three representative projects from 2026, scoped similarly, reconstructed from Renology's Project of the Day network and used here in aggregate form:
- Ballard DADU (550 sq. ft.): A one-bedroom unit built on a relatively flat lot with straightforward utility connections. Finishes were mid-grade, including LVP flooring and semi-custom cabinets. Total Project Cost: $415,000.
- Capitol Hill AADU (800 sq. ft.): A basement conversion in a 1920s home. The project required significant seismic retrofitting, digging out the foundation for ceiling height, and adding extensive drainage. Finishes were high-end. Total Project Cost: $495,000.
- West Seattle DADU (700 sq. ft.): A two-story, one-bedroom unit on a sloped lot requiring a complex foundation and retaining walls. Included higher-end finishes like Marvin windows and custom tile work. Total Project Cost: $560,000.
What No One Else Covers: The 'Finish Creep' Phenomenon
The single most insidious budget-killer isn't a big, dramatic mistake. It's 'finish creep,' a slow, quiet bleeding of your budget through a series of seemingly small upgrades. It starts with your allowances. Your contractor budgets $15 per square foot for bathroom tile. You go to the showroom, and the tile you truly love, the one that defines the whole aesthetic, is $28 per square foot. It's only a few hundred dollars more for the tile itself, you reason. But then you need the better thin-set mortar for that heavier tile. And the installer charges more for the complex pattern. Your small upgrade just added $1,500 to a tiny bathroom. Now, repeat this process for flooring, light fixtures, plumbing hardware, countertops, and cabinet pulls. Each decision is a 'small' upgrade of $500 to $2,000. By the end of the project, these dozen small choices have collectively added $30,000 to the budget, and nobody can point to a single, major change order that caused it. It’s a death by a thousand cuts. The counter-move is to treat your finish selections like a signed contract. During the design phase, work with your designer to create a complete 'good, better, best' materials package. Price all three options. Then, pick one package and commit to it. Give the signed spec sheet to your contractor and make a rule: no changes unless a product is discontinued. This discipline is what separates the homeowners who finish on budget from those who end up with a five-figure financial hangover.
The Renology Take
The meta-mistake underlying all of these issues is a fundamental misunderstanding of what an ADU project is. Homeowners approach it like a kitchen remodel, making decisions sequentially and reacting to problems as they arise. This is precisely the wrong model. An ADU build is a compressed, complex new home construction project that must be managed with extreme discipline from the outset. The project isn't won during construction; it's won or lost in the six months of planning that happen before a single shovel of dirt is turned. The homeowners who succeed are the ones who front-load every single decision, from the geotechnical survey to the final cabinet pull, into a comprehensive, fully-specified, fixed-price contract. They resist the urge to 'figure it out later.' Your budget's greatest protector isn't a savvy contractor; it's a non-negotiable, exhaustively detailed set of construction documents.
Sources & Methodology
Cost ranges in this guide draw on the following named industry sources, public agency datasets, and Renology editorial research.
- Seattle Department of Construction & Inspections (DCI), ADU Permit Data (2026)
- Washington State L&I, Contractor Licensing and Labor Rate Data (2026)
- National Association of Home Builders (NAHB), Construction Cost Survey (2025)
- Remodeling Magazine, Cost vs. Value Report, Seattle MSA (2025)
- U.S. Census Bureau, Annual Construction Spending Report (2025)
- Seattle Public Utilities, Side Sewer Permitting Guidelines (2026)
- Seattle City Light, New Electrical Service Connection Requirements (2026)
- Harvard Joint Center for Housing Studies (JCHS), 'Improving America's Housing' Report (2025)
- American Institute of Architects (AIA), Seattle Chapter, Residential Project Survey (2025)
- King County, Property Tax Assessment Data (2026)
This article is from The Renology Magazine, the renovation magazine and contractor-advisory for homeowners in Southern California, San Diego, and Greater Seattle. Want more renovation breakdowns? Search "The Renology Magazine" on Google.
Sources & methodology
How Renology builds this guide
Renology combines public permit and labor signals, supplier pricing, remodeler quote patterns, and editorial review of comparable projects. Cost references are planning ranges, not fixed bids, because site conditions, materials, access, permits, and finish level can change the final price.
- Benchmarked against the Renology Cost Index, related service guides, and the Renology Methodology.
- Reviewed for Seattle market context when a local market is available.
- Focused on ADU scope, materials, timeline, contractor risk, and budget drivers.
Seattle · pre-screened
Get 3 Seattle ADU bids in 48 hours.
Our editors already vetted Seattle ADU builders. Answer 4 questions and we send 3 written bids inside 48 hours, with the real price for your scope, not their inflated first-call number.
- Free, no commission
- Pre-screened locally
- Bids inside 48 hours
Takes about 60 seconds. We'll text you when bids arrive.