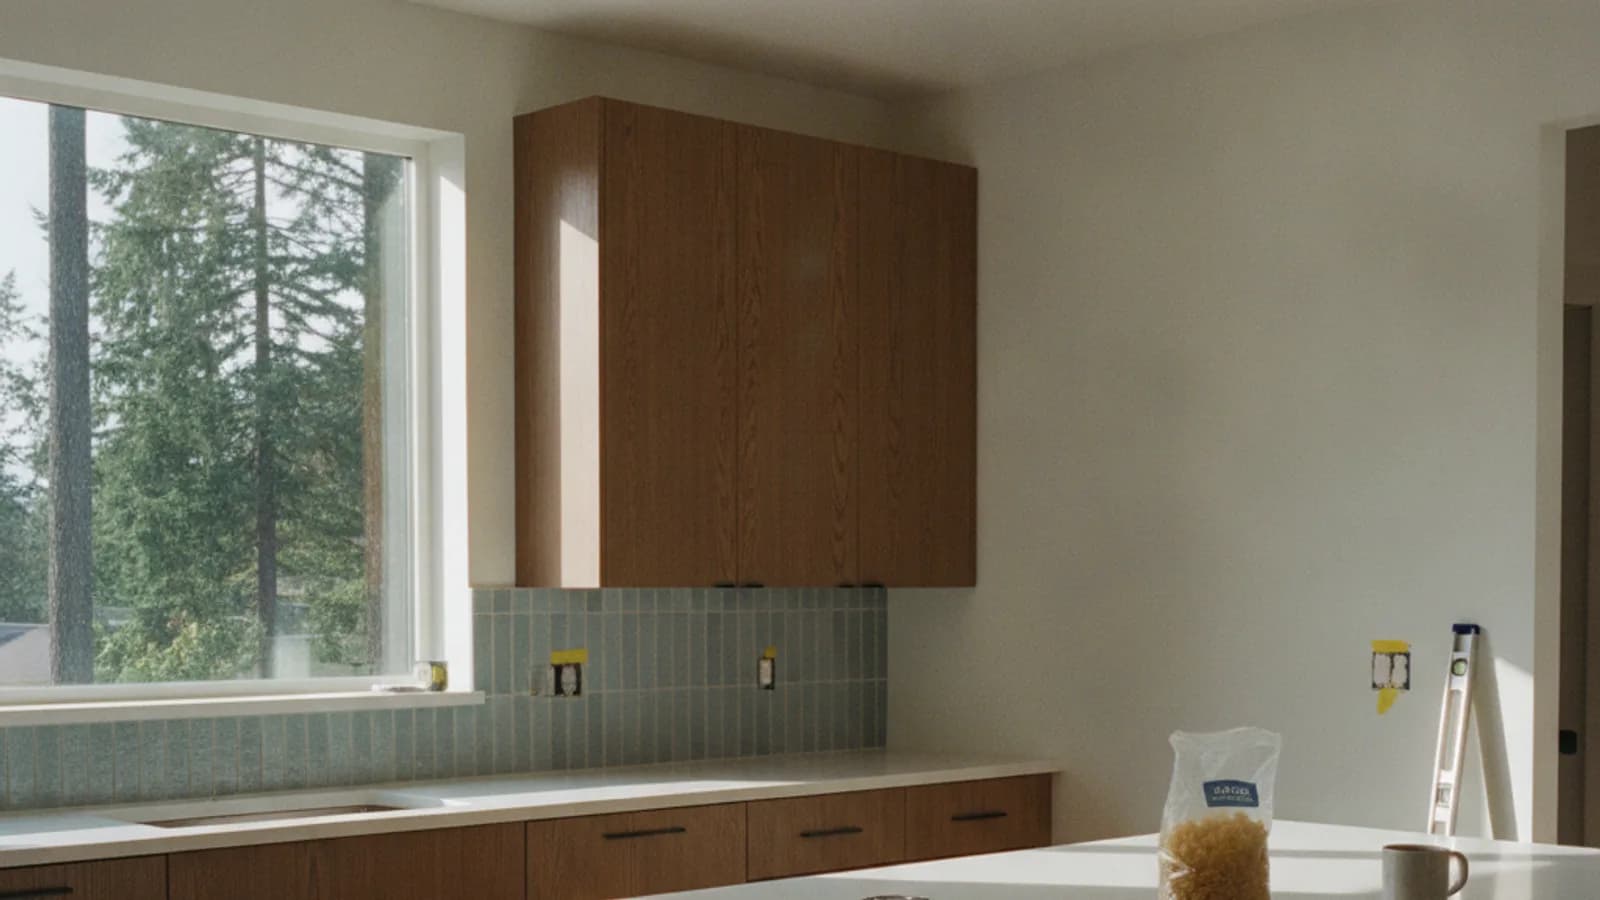
You don't hire a contractor, you hire their entire system. Their subs, their suppliers, their standing with the city inspector. A full kitchen remodel in Seattle is a ground-up operation inside your house, and the person in charge needs to be more than a good carpenter. They need to be a logistician. This guide is about finding that person. We'll cover the real numbers, the questions that expose weak contractors, and the contract clauses that keep your project on track. Forget the glossy photos for a minute. Let's talk about what makes a **kitchen seattle** project succeed in the real world.
What a Seattle kitchen remodel really costs in 2026
Let's get straight to the point. The typical cost for a mid-to-upper range kitchen remodel in Seattle runs $55,000 to $90,000 (Renology Cost Index, updated 2026-05). This range covers a full gut-and-replace project in a medium-sized kitchen, including new cabinets, countertops, appliances, flooring, and the labor to install it all. This is the number for a homeowner in a single-family home in a neighborhood like Ballard or West Seattle. The price can start lower, of course. A cosmetic refresh in a downtown condo with existing plumbing and electrical in good shape might land closer to $35,000. But if you're moving walls, rerouting gas lines, or upgrading your electrical panel, you're squarely in that $55k to $90k territory, and often beyond.
This price isn't just materials. In Seattle, labor is a significant driver. Expect about 50-60% of your budget to go to the people doing the work: the general contractor's fee (typically 15-20% of the total project cost), electricians, plumbers, tilers, and carpenters. The remaining 40-50% covers materials, appliances, fixtures, and permits. A common mistake is to focus only on the cost of the cabinets or the countertops. The real cost is in the skilled labor required to make a hundred different components fit together perfectly, pass inspection, and last for twenty years. That's what you're paying a professional for.
Why are Seattle kitchens so expensive?
Several factors make the **kitchen seattle cost** higher than the national average. First is labor. Skilled trade labor is in high demand and short supply in the Puget Sound region. According to the Washington State Department of Labor & Industries (L&I) contractor licensing and labor rate data, prevailing wages for journeyman electricians and plumbers reflect a competitive market. You're not just paying for a person's time; you're paying for their license, insurance, training, and the years it took to get good at their job. Cheap labor is the most expensive mistake you can make.
Second, material costs are influenced by our location. Seattle is a port city, but many high-end materials and appliances are still shipped long distances, adding to the final price. Third, our building codes are stringent, and for good reason. We live in a seismic zone. Any work that involves structural changes or moving load-bearing walls requires engineering calculations and solid construction methods that add to the cost. The Seattle Department ofConstruction and Inspections (SDCI) enforces these codes rigorously. Finally, the age and condition of Seattle's housing stock play a huge role. A 1920s craftsman in Capitol Hill will almost certainly hide surprises like outdated knob-and-tube wiring or galvanized pipes that must be replaced to meet current code, adding scope and cost to the project.
Three representative kitchen projects from 2026
Three representative projects from 2026, scoped similarly, reconstructed from Renology's Project of the Day network and used here in aggregate form:
Project 1: The Ballard Bungalow Refresh - $62,500
This project in a 1940s home involved keeping the existing layout but replacing everything. The scope included semi-custom shaker cabinets, quartz countertops, a new tile backsplash, and durable LVP flooring. The homeowners opted for mid-range stainless steel appliances. A significant chunk of the budget, around $8,000, went to upgrading the electrical service to the kitchen, including a new subpanel and dedicated circuits for modern appliances. The project passed SDCI inspection on the first pass for electrical rough-in, a testament to the contractor's solid planning.
Project 2: The Queen Anne Open-Concept - $88,000
Here, the goal was to remove a non-load-bearing wall between the kitchen and dining room to create a modern great room. This added complexity and cost. The budget included a structural engineer's assessment, custom cabinetry to fit the new, larger space, a high-end gas range with a professional ventilation hood, and hardwood flooring laced into the existing dining room floor. The project required plumbing and HVAC rerouting. The timeline was 14 weeks, two weeks longer than planned due to a delay in the custom cabinet delivery.
Project 3: The South Lake Union Condo Upgrade - $49,000
This project shows the lower end of the full-remodel spectrum. Working within a modern condo building meant no structural changes and easier access for trades. The scope was a cosmetic and functional upgrade: high-gloss European-style cabinets, a waterfall quartz island, and smart appliances. The contractor specialized in condo remodels, which was key to navigating the building's rules for noise, elevator use, and water shutoffs. This project highlights how layout retention and modern building conditions can control costs for **seattle kitchens**.
Vetting your kitchen contractor: The non-negotiables
Finding the right **kitchen contractor seattle** has to offer is a job interview process, and you're the hiring manager. There are three things that are not optional. First, they must be licensed, bonded, and insured in the state of Washington. Ask for their L&I contractor number and verify it online. Insurance protects you from liability if a worker gets injured, and the bond provides a fund for you to claim against if they fail to complete the job or pay their suppliers. Don't just take their word for it; verify everything.
Second, they need a portfolio of work similar to yours. If you want to remodel a historic craftsman, don't hire a team that only does new construction condos. Ask to see pictures and, more importantly, ask to speak with the last three clients they completed a kitchen for. A good contractor is proud of their work and has happy clients who will vouch for them. Third, they must communicate clearly and professionally. A contractor who is slow to return calls or sends vague, one-line emails during the bidding process will not magically become a better communicator once they have your deposit. The relationship with your contractor is the single biggest predictor of a successful project. Trust your gut.
Questions to ask every contractor you interview
When you sit down with a potential contractor, your questions should go beyond "how much?" and "how soon?" You're trying to understand their process, not just the outcome. Start with these:
- Who will be my primary point of contact, and who will be on-site every day? You need to know if you'll be dealing with the owner, a project manager, or a site foreman. A dedicated on-site lead is critical for quality control.
- How do you handle communication and project updates? Do they use a project management app like Buildertrend? Do they send weekly summary emails? A defined communication plan prevents misunderstandings.
- Can you provide a detailed, itemized bid? A one-page quote is a red flag. You need a full breakdown of costs for labor, materials, permits, and their markup. Learn more about how to read a contractor estimate to compare bids effectively.
- What is your process for change orders? Changes happen. A professional has a clear, written process for pricing, approving, and documenting any deviation from the original scope.
- How do you qualify and manage your subcontractors? The plumber, the electrician, the tiler. These people are critical. Your contractor is only as good as the weakest sub on their team. Do they have long-standing relationships with their trades?
- What warranties do you provide for your work? A contractor should stand behind their work with a written warranty, typically for at least one year.
Their answers will tell you more about their professionalism and experience than any portfolio. A contractor who gets defensive about these questions is not the contractor for you.
Red flags that signal a bad contractor fit
Spotting trouble early saves you a world of pain. Some red flags are obvious, others are more subtle. A large, upfront deposit is a major warning. Washington state law limits the down payment a contractor can demand before work starts. A request for more than 10-15% or for a large cash payment is a sign of financial instability. Another red flag is pressure to sign a contract immediately. A professional will give you time to review the bid, check references, and feel comfortable with your decision. High-pressure sales tactics belong in a used car lot, not your home.
Pay close attention to their bid. An unusually low bid isn't a bargain; it's a warning. It often means they've missed something in the scope, are using substandard materials, or plan to hit you with a series of expensive change orders later. It can also mean they don't pay their subs or suppliers well, which is a risk for you. Also, be wary of a contractor who suggests you pull the permit yourself as the homeowner. This is almost always an attempt to avoid scrutiny and liability. The licensed contractor performing the work should be the one pulling the permit. It's their job to know the code and pass the inspections. A contractor who wants to sidestep that is not a professional.

Understanding the bid: Apples to apples
3 Seattle kitchen remodelers, editor-screened. 4 questions.
See my 3 matchesYou should always get at least three bids from different contractors. But comparing them can be tricky if they aren't structured the same way. A good bid is not just a number; it's a detailed scope of work. It should break down the project into phases: demolition, framing, rough-in for plumbing and electrical, drywall, flooring, cabinet installation, countertop templating and install, and finishes. For each phase, it should specify the materials to be used (e.g., "Schrock 'Entra' series cabinets in Maple, finish 'Linen'") and the labor costs associated.
If one bid is significantly different from the others, find out why. Don't just look at the total. Did the low bidder forget to include the cost of hauling away debris? Did the high bidder include a higher allowance for your lighting fixtures? The goal is to compare bids for the exact same scope of work. If a bid is vague, with terms like "install new faucet," ask for clarification. Which make and model? Who is purchasing it? Allowances are another key area. A contractor will often include a budget amount, or allowance, for items you haven't selected yet, like tile or light fixtures. Make sure these allowances are realistic for the quality you want. A low allowance can make a bid look artificially cheap.
The contract: Clauses that protect you
The contract is the single most important document in your remodel. It's the rulebook for the entire project. Do not sign a simple, one-page work order. A proper contract, often based on templates from the American Institute of Architects (AIA), should be detailed and specific. It must include several key clauses to protect you.
First, the full scope of work. It should reference the detailed bid and the architectural plans, if any. Every single thing to be done should be in writing. If it's not in the contract, it's not in the project. Second, a payment schedule. Payments should be tied to the completion of specific project milestones (e.g., '15% due upon successful rough-in inspection'), not to arbitrary dates. Never agree to pay for more than 50% of the project before the halfway point. And always hold back a final payment of 10-15% until every last item on the punch list is complete and you have received lien releases from all subcontractors and major suppliers. A lien release is a document proving they've been paid by your general contractor. Without them, a sub could place a lien on your house if the GC doesn't pay them.
The scope-lock date and change orders
Every project has a point of no return. We call it the scope-lock date. This is the deadline after which all your decisions about layout, materials, and finishes are final. It usually happens right before the contractor places orders for long-lead-time items like cabinets or custom windows. Changing your mind after this date is possible, but it will cost you time and money through a change order.
A change order is a mini-contract for anything that deviates from the original scope. It should be a written document that details the new work, the cost of that work (or the credit, for a deletion), and the impact on the project schedule. Both you and the contractor must sign it before the new work begins. This process prevents disputes about verbal agreements. It's also where your contingency fund comes in. The National Association of Home Builders recommends a ten to fifteen percent contingency on renovations in homes over thirty years old. This fund is for two things: unforeseen problems (like finding rot behind a wall) and your own changes of mind. Don't touch it for anything else. A well-planned project aims to end with that contingency fund unspent.
Navigating the Seattle permit process
Pulling a permit isn't just paperwork. It's a quality control system. The permit process ensures your project is designed and built to meet safety codes. In Seattle, this is managed by the Seattle Department of Construction and Inspections (SDCI). For a kitchen remodel, you will almost always need a permit if you are moving walls, altering plumbing, or changing the electrical wiring. A simple cosmetic update with no system changes might not, but you must confirm. Your contractor should know exactly what triggers a permit requirement.
The contractor is responsible for preparing the necessary drawings, submitting the application, and scheduling the inspections. The inspection card must be posted on-site. An SDCI inspector will visit at key stages, typically for framing, plumbing rough-in, and electrical rough-in, before any drywall goes up. They will check the work against the approved plans and the building code. A final inspection is required when the project is complete. This process protects you. It provides a third-party check on the quality and safety of the work being done behind your walls. Don't let any contractor tell you it's better to work without one. For a full breakdown of the process, see our complete Seattle Kitchen Permit Playbook for 2026.
Information Gain
Most homeowners focus on finishes. Cabinets, countertops, the backsplash. They think a kitchen remodel is about building boxes and hooking up appliances. A good contractor knows the truth: a major kitchen remodel is a structural project first. Especially in Seattle, with our older housing stock and seismic realities. The most important work happens when the kitchen is stripped down to the studs.
When you take out a wall to create that open-concept kitchen, you're not just removing drywall. You may be removing part of the load path that holds up your second floor or your roof. A contractor who just cuts it out and puts in a header that "looks big enough" is a danger. A professional brings in an engineer to calculate the load and spec the correct laminated veneer lumber (LVL) beam and the posts to support it, ensuring that load is transferred correctly all the way down to the foundation. We see this all the time in 1950s homes in Magnolia or Laurelhurst. The original framing was adequate for its time, but it has no margin for error.
The same goes for the floor. A heavy quartz or granite island can create a significant point load. Are the floor joists underneath it sufficient? In many older homes, the answer is no. A good contractor will inspect the joists from the crawlspace or basement, and if necessary, will sister new joists alongside the old ones to add strength and prevent sagging. This is the work you never see, but it's what separates a 20-year kitchen from one that has cracked grout and a sloping floor in five. When you interview a contractor, ask them how they assess the existing structure before they even start talking about cabinet styles. Their answer will tell you if they're a craftsman or just a salesman.
Managing the project: Your role
Once construction starts, your role shifts from planner to project partner. Your primary job is to make timely decisions and communicate clearly through your designated point of contact. The project schedule depends on it. If the contractor needs you to choose your paint colors by Tuesday so the painter can start on Friday, a delay on your part can throw off the entire sequence of trades.
You also need to be available for scheduled site meetings. These are your opportunities to see progress, ask questions, and catch any potential issues early. It's much easier to move an electrical outlet before the drywall is installed. Walk the site with your project manager at least once a week. Finally, your role is to manage the payment schedule. Pay promptly according to the contract as milestones are met. This keeps the project moving and maintains a good relationship with your contractor. But do not release payments ahead of schedule or for incomplete work. You are the client, but you are also the bank. A professional process with clear boundaries and expectations is the foundation for a smooth project from start to finish.
The Renology Take
The biggest mistake homeowners make is thinking they're buying a product. They're not. A kitchen remodel isn't a refrigerator you can return if you don't like it. You are buying a service. You are entering into a long-term relationship with a company that will be tearing apart and rebuilding the most important room in your house. The success of your project will depend less on the brand of cabinets you choose and more on the quality of the communication and trust you have with your general contractor. Vet the person, not just the price. A detailed bid, strong references, and a clear communication style are worth more than a bid that's ten percent lower. In construction, you get what you pay for. Pay for a professional process, and you'll get a professional result.
Sources & Methodology
See the Renology Methodology for how sources are reviewed, ranges are normalized, and planning-data limits are handled.
Cost ranges in this guide draw on the following named industry sources, public agency datasets, and Renology editorial research.
- Renology Cost Index (2026-05)
- Washington State Department of Labor & Industries (2026)
- National Association of Home Builders (2026)
- Remodeling Magazine, Cost vs. Value Report (2026)
- Seattle Department of Construction and Inspections (SDCI) (2026)
- National Kitchen & Bath Association (NKBA) Market Outlook (2026)
- AIA Contract Documents (2025)
- U.S. Bureau of Labor Statistics, Occupational Employment Statistics (2025)
- Harvard Joint Center for Housing Studies (JCHS), Leading Indicator of Remodeling Activity (LIRA) (2026)
This article is from The Renology Magazine, the renovation magazine and contractor-advisory for homeowners in Southern California, San Diego, and Greater Seattle. Want more renovation breakdowns? Search "The Renology Magazine" on Google.
Frequently Asked Questions
How long does a kitchen remodel take in Seattle?
Do I need a permit for a kitchen remodel in Seattle?
What is the ROI on a kitchen remodel in Seattle?
Can I live in my house during a kitchen remodel?
What are the biggest hidden costs in a Seattle kitchen remodel?
How do I handle payments to a contractor?
What's the difference between a general contractor and a kitchen designer?
Are IKEA kitchens a good value for a Seattle home?
How does seismic code affect my kitchen remodel in Seattle?
What materials hold up best in Seattle's damp climate?
Seattle · pre-screened
Get 3 Seattle kitchen bids in 48 hours.
Our editors already vetted Seattle kitchen remodelers. Answer 4 questions and we send 3 written bids inside 48 hours, with the real price for your scope, not their inflated first-call number.
- Free, no commission
- Pre-screened locally
- Bids inside 48 hours
Takes about 60 seconds. We'll text you when bids arrive.
Sources
- Renology Cost Index
- Washington State Department of Labor & Industries
- National Association of Home Builders
- Remodeling Magazine, Cost vs. Value Report
- Seattle Department of Construction and Inspections (SDCI)
- National Kitchen & Bath Association (NKBA) Market Outlook
- AIA Contract Documents
- U.S. Bureau of Labor Statistics, Occupational Employment Statistics
- Harvard Joint Center for Housing Studies (JCHS), Leading Indicator of Remodeling Activity (LIRA)