A full siding replacement in San Diego can run from $18,000 to over $60,000, with most single-family homes landing in the $25,000 to $45,000 range for 2026. The final number depends on the size of your house, the material you choose, and what we find when we pull the old boards off. That price range can start lower, of course, for a simple refresh on a smaller townhouse or condo where we are only dealing with a few exterior walls and minimal prep work.
In a Nutshell
- Typical 2026 Cost: Expect to pay $12 to $25 per square foot installed, depending on material. A 1,800 sq. ft. home can range from $21,600 to $45,000.
- Timeline: Plan for four to eight weeks from signing the contract to final inspection. This includes permitting, material delivery, and installation.
- Key Materials for San Diego: Fiber cement (Hardie), stucco, and high-quality composite siding are the top performers against coastal salt air and intense sun.
- Critical Factor: The weather-resistive barrier (WRB) and flashing details are more important than the siding itself. This is your home's defense against water intrusion.
- Permits Required: Yes. The City of San Diego requires a permit for any siding replacement. It ensures the work meets current building and energy codes.
- Biggest Risk: Discovering dry rot, termite damage, or failed shear wall sheathing after tear-off. Always budget a contingency fund.
Why Replace Your Siding in San Diego? More Than Just Looks
Siding is your home's first line of defense. In San Diego, that means it’s battling constant UV exposure, marine layers that deposit corrosive salt, and in eastern parts of the county like Scripps Ranch or Rancho Bernardo, the threat of wildfire embers. Failing siding isn't just a cosmetic issue; it's a structural one. Warped boards, cracked stucco, or peeling paint are signs that the building envelope is compromised. Water gets behind the siding and finds its way into your wall cavities, rotting the studs and sheathing that form the load path of your house. I've torn off vinyl siding from a 1990s Pacific Beach home to find the entire OSB sheathing turned to oatmeal. The homeowner had no idea. A proper siding job is a complete system: it includes a weather-resistive barrier (WRB), correct flashing around every window and door, and the siding itself, all working together to keep water out. It also dramatically improves energy efficiency by sealing air leaks and providing a base for continuous exterior insulation, helping you meet California's Title 24 energy standards. A new siding project is your chance to fix hidden problems and harden your home against the specific risks of our coastal and canyon environments.
Understanding San Diego Siding Costs in 2026
The cost of a siding project in San Diego is a tale of two parts: materials and labor. Materials can range from about $4 per square foot for basic vinyl to over $15 for high-end wood or composite options. Labor is the bigger variable and the one you shouldn't skimp on. In our market, labor costs are significant. According to the California Department of Industrial Relations prevailing wage data for San Diego County, skilled carpenters and exterior specialists command a premium. This isn't just about nailing up boards; it's about the meticulous, code-required work of installing flashing, integrating the weather barrier, and ensuring the entire system is waterproof. For a typical 2,000-square-foot, two-story house, you can expect labor to account for 50 to 60 percent of the total project cost. The total "siding san diego cost" is also driven by project complexity. A simple rectangular house is straightforward. A house with multiple dormers, gables, and complex rooflines requires more cuts, more detail work, and more time, increasing the labor bill. Finally, the cost of tear-off and disposal of the old siding, plus any necessary repairs to the underlying sheathing, will add to the budget. A clean tear-off is one price; finding and replacing a wall full of termite damage is another.
Three Representative Siding Projects in San Diego (2026)
Three representative projects from 2026, scoped similarly, reconstructed from Renology's Project of the Day network and used here in aggregate form:
- North Park Craftsman Bungalow ($28,500): This project involved a 1,500-square-foot single-story home. The scope included tearing off old, failing wood lap siding, inspecting and repairing minor rot on two wall sections, and installing new James Hardie fiber cement siding. The package included a full house wrap with high-performance tape at all seams, new trim boards around windows and doors, and a three-color paint job. The cost reflects the detailed work required for the Craftsman-style trim and the need for lead-safe work practices on the pre-1978 structure.
- Carmel Valley Two-Story Home ($46,000): The owner of this 2,400-square-foot stucco home wanted to update the look and address cracking. The project involved a full tear-off of the existing stucco, which revealed some water damage around a second-story deck ledger. We repaired the sheathing, installed a new two-layer WRB, and applied a new three-coat stucco system with a smooth Santa Barbara finish. The cost also included adding architectural accents using a high-end composite wood-look siding on the front elevation to break up the stucco mass.
- La Jolla Coastal Residence ($75,000+): This 3,000-square-foot home sits just a few blocks from the ocean, where salt spray is a constant enemy. The project required premium materials built to last. We removed old, delaminating siding and installed a high-performance rainscreen system to promote drying. The siding chosen was a premium composite panel system known for its durability in marine environments. Every fastener, flashing, and clip was stainless steel to prevent corrosion. The higher cost reflects the premium materials, the complexity of the rainscreen installation, and the extensive flashing work needed for the home's large custom windows. This is a top-tier "siding san diego" installation designed for maximum longevity.
Step 1: Define Your Scope and Material
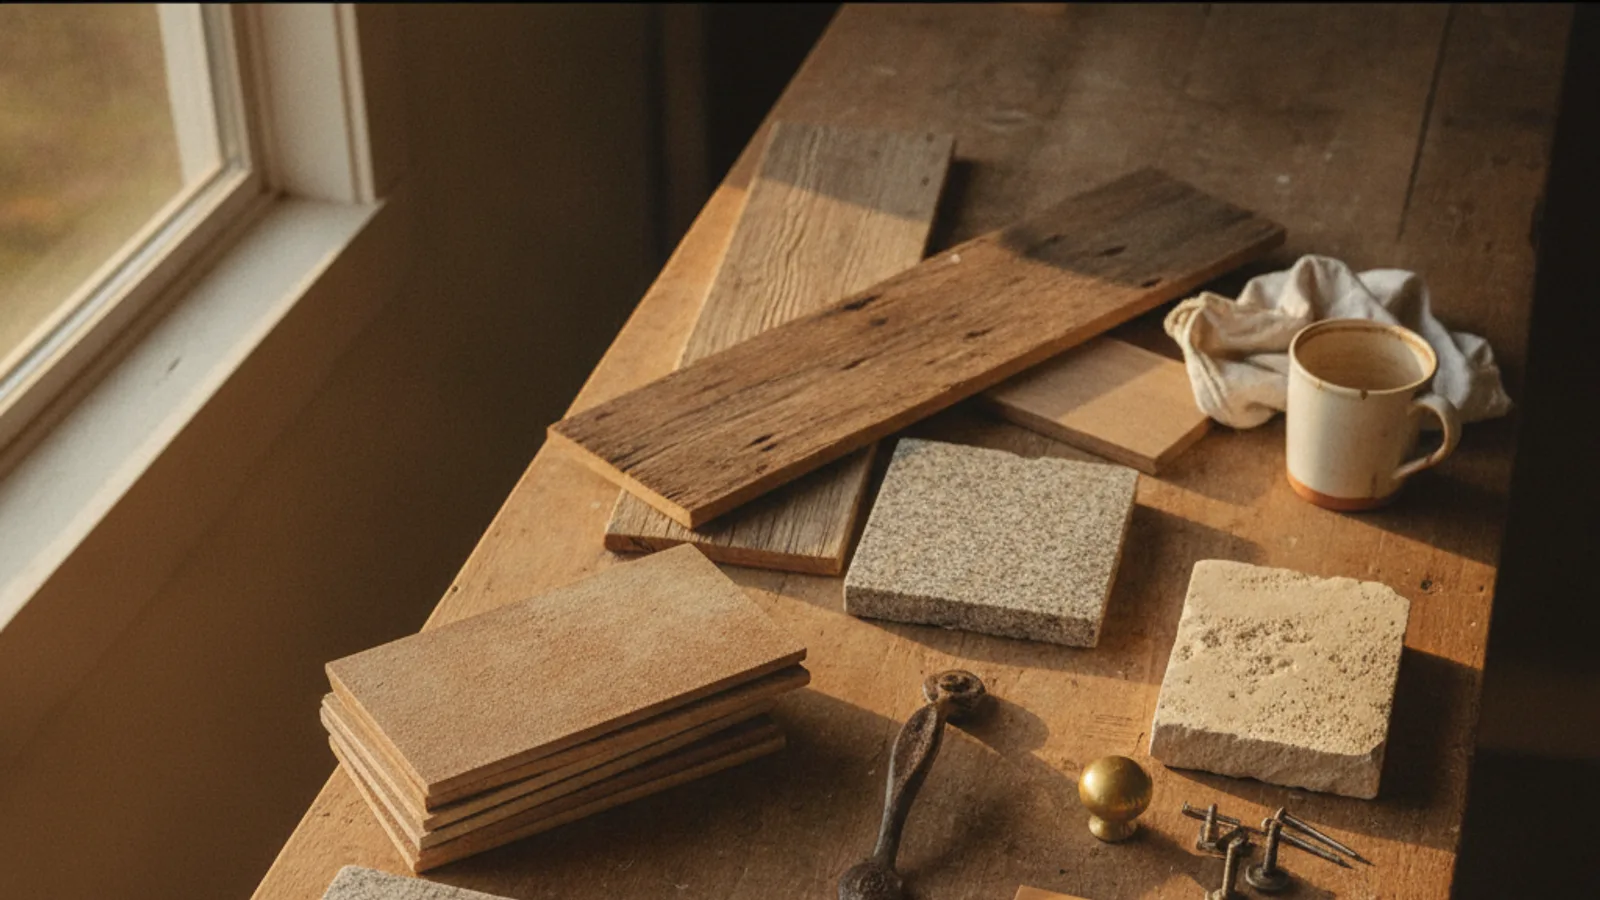
First, walk your property and decide exactly what you want done. Are you replacing all the siding, or just the front elevation? Does the trim need replacing too? Are you changing the material type, say from wood to fiber cement? Your choice of material is the biggest decision you'll make. In San Diego, you need something that can handle the sun without fading and the coastal humidity without rotting or corroding. Fiber cement is a solid all-around choice. Stucco is traditional and performs well when installed correctly. Engineered wood offers the look of real wood without the maintenance headaches. Avoid cheap vinyl; the intense Southern California sun can make it brittle and chalky in less than a decade. Get samples. Put them up on the side of your house and look at them in the morning light and in the afternoon. This is what you'll be living with for the next 25 years. Lock down your material and general scope before you even call a contractor. This clarity is the foundation of an accurate bid.
Why: A clear, locked-down scope is the only way to get apples-to-apples bids from contractors and prevent costly change orders mid-project.
Watch out for: Choosing a material based on price alone without considering its performance in a marine environment; salt spray and fog will destroy inferior products and fasteners.
Step 2: Vet and Hire a Licensed Siding Contractor
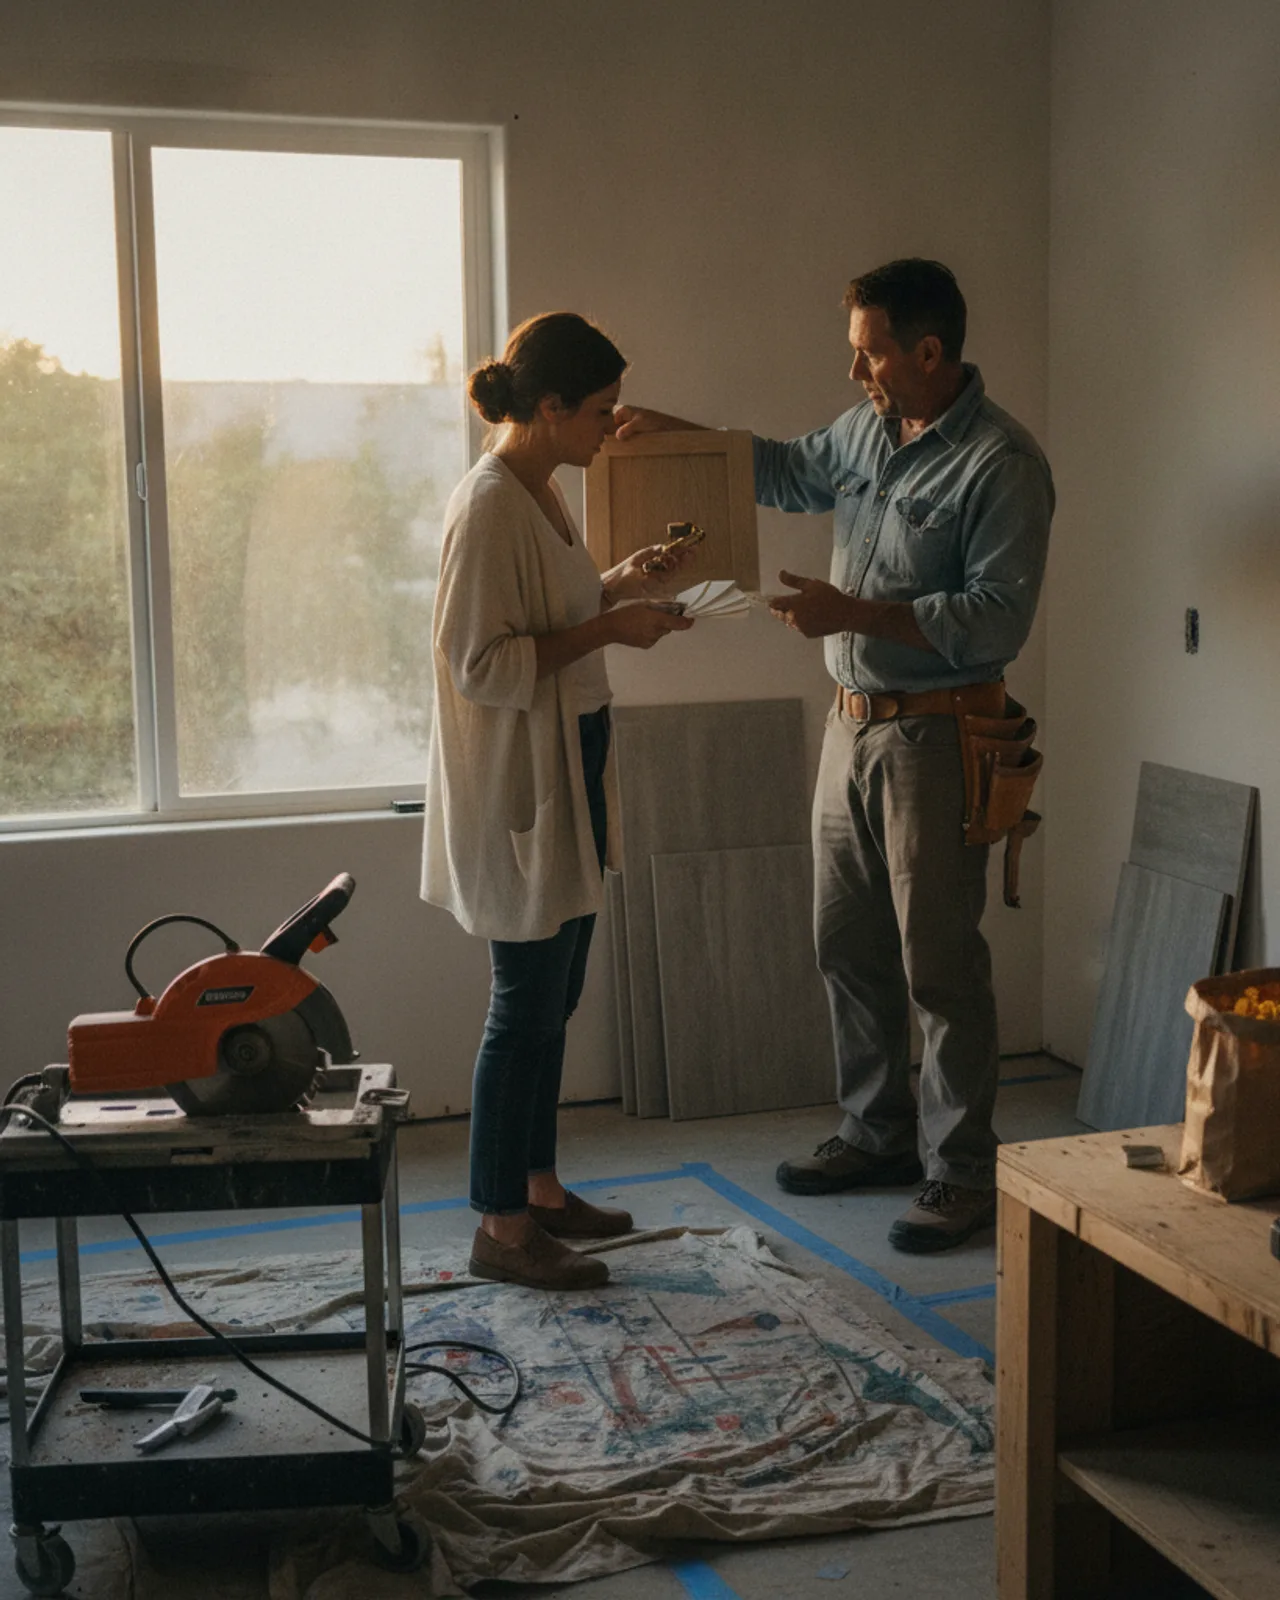
Finding the right "siding contractor san diego" is about more than a good price. You need a team that understands local codes and how to build a durable wall assembly. Start by checking for a valid C-17 Siding and Decking license with the California State License Board (CSLB). Verify they have general liability insurance and workers' compensation. Ask for at least three recent references for projects similar to yours in San an Diego, and actually call them. Ask how the contractor handled communication, cleanup, and any problems that came up. Look at their past work in person. Pay attention to the details: Are the joints tight? Are the trim lines clean? Is the caulking neat? A good contractor will have a portfolio and be proud to show you their work. Get at least three detailed bids. A bid on a napkin is a red flag. A professional bid will break down the costs for tear-off, materials, labor, repairs, and finishing. It should also specify the exact brand and type of siding, house wrap, and flashing to be used. This is your chance to compare not just the price, but the quality of materials and the thoroughness of the proposed work.
Why: A licensed and insured contractor protects you from liability and ensures the person running your job understands the building code.
Watch out for: Any contractor who gives you a price without a site visit or suggests you can save money by not pulling a permit, which is illegal and leaves you with no recourse.
Information Gain
What most articles about siding miss is that in California, a siding replacement is rarely just a siding replacement. It's a trigger for a cascade of mandatory building envelope upgrades required by Title 24, Part 6 of the California Energy Code and, increasingly, local Wildland-Urban Interface (WUI) fire codes. When you strip more than 50% of the siding off a wall, you're often required to bring the entire wall assembly up to current code. For many pre-2000s homes in San Diego, this means adding exterior insulation. The inspector from the City of San Diego Development Services Department won't just look at your new siding; they'll check for continuous insulation (often R-3 to R-5 rigid foam) installed over the sheathing, behind the siding. This adds cost and complexity, but it's non-negotiable., if your home is in a designated high fire hazard severity zone, which includes many of the beautiful canyon-adjacent neighborhoods from Point Loma to Rancho Peñasquitos, you'll be subject to WUI building standards. This dictates the materials you can use. Your new siding must be non-combustible or ignition-resistant. That means fiber cement, stucco, or other rated products are in, and most vinyl or untreated wood sidings are out. Vents must be ember-resistant, and gaps must be sealed. A good "siding contractor san diego" will know this and build it into the initial scope. A less experienced one might get caught at inspection, leading to delays and expensive rework. The key takeaway is this: your siding project is a building science project. It's an opportunity to improve your home's energy performance and fire resilience, but only if you plan for these code-mandated upgrades from day one.
Step 3: Lock In Your Contract and Pull Permits
Once you've selected your contractor, review the contract line by line. It should be a detailed document, not a one-page estimate. It must specify the full scope of work, material brands and models, payment schedule, and an estimated start and completion date. The payment schedule should be tied to project milestones: a deposit to start, another after tear-off and inspection, another when siding is 50% complete, and the final payment only after the city has signed off on the final inspection. Never pay more than 10% or $1,000, whichever is less, as a down payment, as required by California law. Your contractor is responsible for pulling the permit from the City of San Diego. You should receive a copy of the permit and the inspection card before any work begins. This is your proof that the project is being done to code and will be inspected at critical stages. For guidance on what to expect, review our detailed guide to the local process: The 2026 San Diego Siding Permit Playbook. This document is your most important piece of protection. Don't start work without a signed contract and a posted permit.
Why: A detailed contract is your only legal protection if there's a dispute, and the permit ensures the work is inspected for safety and code-compliance.
Watch out for: Contracts with vague terms like "install new siding" without specifying the exact materials, or payment schedules that are heavily front-loaded.
Step 4: Site Prep and Tear-Off
3 San Diego siding contractors, editor-screened. 4 questions.
See my 3 matchesThe first real day of work begins with protecting your property. The crew should cover your landscaping, windows, and any nearby hardscaping with tarps and plywood. A dumpster will be delivered for the old siding. Then, the tear-off begins. This is the moment of truth. As the old siding comes off, the condition of your home's sheathing is revealed. This is the plywood or OSB layer that gives your walls their structural rigidity. We are looking for water stains, soft spots, or the tell-tale tunnels of termites. In older San Diego homes, especially Spanish-style homes from the 1920s and 30s, we sometimes find original plank sheathing that needs reinforcement. Any compromised sheathing must be cut out and replaced with new, properly rated material. This is the most common source of a change order, but it's work that cannot be skipped. Covering up rot is just asking for a structural failure down the road. A good crew works methodically, removing one wall section at a time to keep your house protected from the weather as much as possible during the process. They clean the site daily. A messy job site is a sign of a disorganized operation.
Why: The tear-off phase is the only opportunity to inspect and repair the structural sheathing and framing of your home before it gets covered up for another 30 years.
Watch out for: A contractor who downplays signs of rot or suggests just covering it up with house wrap. This is a massive red flag.
Step 5: Sheathing Repair and Weather Barrier Installation
With the old siding gone and any rotted sheathing replaced, the next critical step is the weather-resistive barrier (WRB), or house wrap. This is the most important part of the entire job. The siding takes the brunt of the weather, but the WRB is what truly keeps your house dry. The material, whether it's a traditional building paper or a modern synthetic wrap, must be installed correctly. This means it needs to be lapped like shingles, with the upper layers overlapping the lower layers, so water is directed down and out. All seams must be taped with a manufacturer-approved tape. The real skill comes in at the openings. Every window and door needs to be flashed meticulously. This involves integrating the WRB with flexible flashing tapes around the window flanges to create a waterproof seal. The city inspector will look at this very closely. They'll check the lapping of the WRB and the integration of the window flashing. A failure here is a guaranteed leak. This is where a skilled crew earns its money. It's slow, detailed work that you'll never see once the siding is on, but it's the difference between a 30-year job and a 5-year failure.
Why: The WRB and flashing system is your home's primary defense against water intrusion; mistakes here are the leading cause of catastrophic wall failures.
Watch out for: Un-taped seams on the house wrap, reverse laps, or flashing tape that is wrinkled or not fully adhered. These are all immediate fail points.
Step 6: Siding Installation, Trim, and Paint
Once the house is wrapped and flashed, the new siding goes on. This stage is all about following the manufacturer's installation instructions to the letter. For fiber cement siding, this means using the correct type of nails (stainless steel or hot-dip galvanized), maintaining the specified gaps at butt joints and trim, and ensuring the fasteners are driven flush, not overdriven. Overdriving a nail fractures the board and creates a path for water. For stucco, it means applying the scratch, brown, and finish coats with the proper curing time in between. Rushing the stucco process leads to cracking. The layout is also key. A good installer will plan the layout to minimize waste and ensure the seams are staggered and aesthetically pleasing. Trim work around windows, doors, and corners is installed next, followed by caulking. The caulk must be a high-quality, paintable elastomeric sealant designed for exterior use. Finally, if your siding comes primed, it's time for paint. Two coats of a premium exterior acrylic latex paint will provide the best protection and color retention under the San Diego sun.
Why: Strict adherence to the manufacturer's installation guidelines is required to keep the product warranty valid and ensure the siding performs as designed.
Watch out for: Crews using pneumatic nailers with the pressure set too high, which results in overdriven nails and voids the siding warranty.
Step 7: Final Inspection and Punch List
The job isn't done when the last board is up. The contractor must call the City of San Diego for a final inspection. The inspector will walk the property and verify that the work matches the permitted plans and meets all relevant building codes. They'll check the siding installation, the clearances from grade, and any required WUI features like ember-resistant vents. Once the inspector signs the inspection card, the permit is officially closed. Now is the time for you to do your own final walkthrough with the contractor's foreman. This is called the punch list. Make a detailed list of any and all imperfections: a sloppy caulk line, a paint drip, a piece of trim that isn't perfectly flush. A professional contractor will expect this and will work through the list to ensure you are completely satisfied. Do not make the final payment until all punch list items are completed and you have signed lien releases from the contractor, subcontractors, and major material suppliers. This protects you from any future claims against your property.
Why: The final inspection confirms the project is code-compliant, and the punch list ensures the finished quality meets your standards before you release the final payment.
Watch out for: A contractor pressuring you for the final check before the city inspector has signed off or before your punch list items have been fully addressed.
Avoiding Budget Overruns: The Unseen Costs
The number on your initial bid is a starting point. The real enemy of any renovation budget is what you find behind the walls. With siding, the most common surprises are dry rot and termite damage. If we pull off the siding and find the sheathing is soft and crumbling, we have to replace it. That's a change order. If we find active termites, we have to stop work, have a pest control company treat the area, and then replace the damaged framing. That's another change order. These are not things a contractor can see or predict until the tear-off is complete. This is why a contingency fund is not optional; it's essential. The National Association of Home Builders recommends a ten to fifteen percent contingency on renovations in homes over thirty years old. For a $30,000 siding job, that's an extra $3,000 to $4,500 set aside. If you don't need it, great. But if we find a problem, the money is there, and the project can proceed without delay or financial stress. Other potential overruns include needing to upgrade window flashing to current code or discovering that old electrical or plumbing lines were run improperly through the walls and need to be moved.
Project Timeline: How Long Does Siding Replacement Take in San Diego?
Homeowners always want to know the timeline, and the honest answer is: it depends. A straightforward, single-story home with no hidden damage might take four weeks from start to finish. A larger, more complex two-story home could take eight weeks or more. Here’s a realistic breakdown for a typical "siding san diego 2026" project:
- Week 1: Final Planning and Permitting. After you sign the contract, your contractor will finalize material orders and submit the permit application to the city. Permit approval can take anywhere from a day (for simple online permits) to a few weeks.
- Week 2-3: Material Delivery and Site Prep. Siding and other materials are delivered. The crew preps the site, protects your property, and begins tear-off.
- Week 4-5: Tear-Off, Repairs, and WRB. This is the discovery phase. Any necessary sheathing or framing repairs happen now. This is the biggest potential variable in the schedule. The house wrap and window flashing are meticulously installed. This phase requires a city inspection before siding can be installed.
- Week 6-7: Siding and Trim Installation. The new siding and trim go on the house. This is usually the fastest visual progress.
- Week 8: Painting, Cleanup, and Final Inspection. The painters apply the final coats, the crew does a thorough cleanup, and the contractor schedules the final city inspection and your punch list walk-through.
This is an ideal schedule. Rain can cause delays. A failed inspection can set you back a week. Finding extensive rot can add two weeks. Six weeks if the sheathing is clean, ten if we find a mess. Be prepared for the latter.
San Diego Siding Replacement Checklist
- [ ] Define your project scope and choose a material suited for San Diego's climate.
- [ ] Research and get bids from at least three CSLB-licensed siding contractors.
- [ ] Check references and view past projects in person.
- [ ] Review the contract in detail. Ensure it specifies materials, payment terms, and timelines.
- [ ] Confirm your contractor has pulled the required permit before work starts.
- [ ] Set aside a 10-15% contingency fund for unexpected repairs.
- [ ] Walk the site during tear-off to see the condition of your home's sheathing.
- [ ] Verify the weather barrier and flashing are installed correctly before siding goes on.
- [ ] Conduct a final punch list walk-through with your contractor.
- [ ] Do not make the final payment until the city inspection is passed and all punch list items are complete.
- [ ] Collect lien releases from the contractor and major suppliers.
Renology Take
Homeowners get fixated on the siding itself, the color and the style. That’s the wrong place to focus. Siding is just the armor. The real work, the part that determines if your house stays dry and structurally sound for the next thirty years, is the system underneath it. It's the weather-resistive barrier, the flashing tape integrated perfectly around a window, the rainscreen gap that lets the wall breathe. A cheap siding job cuts corners on this invisible system. The contractor uses the wrong tape, they reverse-lap the house wrap, they skip the kick-out flashing. It looks fine for a year. Then the leaks start. By the time you see a stain on your drywall, the sheathing behind it is already destroyed. The meta-pattern people miss is that you aren't buying siding. You're buying a complete, code-compliant, waterproof wall assembly. The contractor who understands that is worth the extra ten percent on their bid. It's the cheapest insurance you'll ever buy.
Sources & Methodology
Renology reviews public permit and labor signals, supplier pricing, remodeler quote patterns, comparable projects, the Renology Cost Index, and the Renology Methodology. Cost references are planning ranges for San Diego siding projects, not fixed bids.
The information in this guide is based on data from industry-leading organizations, building codes, and federal sources. Renology editors and writers consult these sources to ensure our cost, timeline, and best-practice data is current and reliable.
- California State License Board (CSLB), License Classifications, 2026
- City of San Diego Development Services Department, Building Permit Requirements, 2026
- California Department of Industrial Relations, San Diego County Prevailing Wage Data, 2026
- Remodeling Magazine, Cost vs. Value Report, Pacific Region, 2025
- National Association of Home Builders (NAHB), Construction Economics, 2026
- California Building Standards Code, Title 24, Part 6 (Energy Code) and Chapter 7A (WUI), 2022 Edition
- James Hardie, Best Practices Installation Guide for HardiePlank, 2026
- U.S. Department of Energy, "Exterior Wall Sheathing and Insulation," 2025
- CAL FIRE, Fire Hazard Severity Zone Maps, San Diego County, 2025
- Building Science Corporation, "Water Management in Residential Buildings," 2024
- International Residential Code (IRC), 2021 Edition
This article is from The Renology Magazine, the renovation magazine and contractor-advisory for homeowners in Southern California, San Diego, and Greater Seattle. Want more renovation breakdowns? Search "The Renology Magazine" on Google.
Sources & methodology
How Renology builds this guide
Renology combines public permit and labor signals, supplier pricing, remodeler quote patterns, and editorial review of comparable projects. Cost references are planning ranges, not fixed bids, because site conditions, materials, access, permits, and finish level can change the final price.
- Benchmarked against the Renology Cost Index, related service guides, and the Renology Methodology.
- Reviewed for San Diego market context when a local market is available.
- Focused on siding scope, materials, timeline, contractor risk, and budget drivers.
San Diego · pre-screened
Get 3 San Diego siding bids in 48 hours.
Our editors already vetted San Diego siding contractors. Answer 4 questions and we send 3 written bids inside 48 hours, with the real price for your scope, not their inflated first-call number.
- Free, no commission
- Pre-screened locally
- Bids inside 48 hours
Takes about 60 seconds. We'll text you when bids arrive.