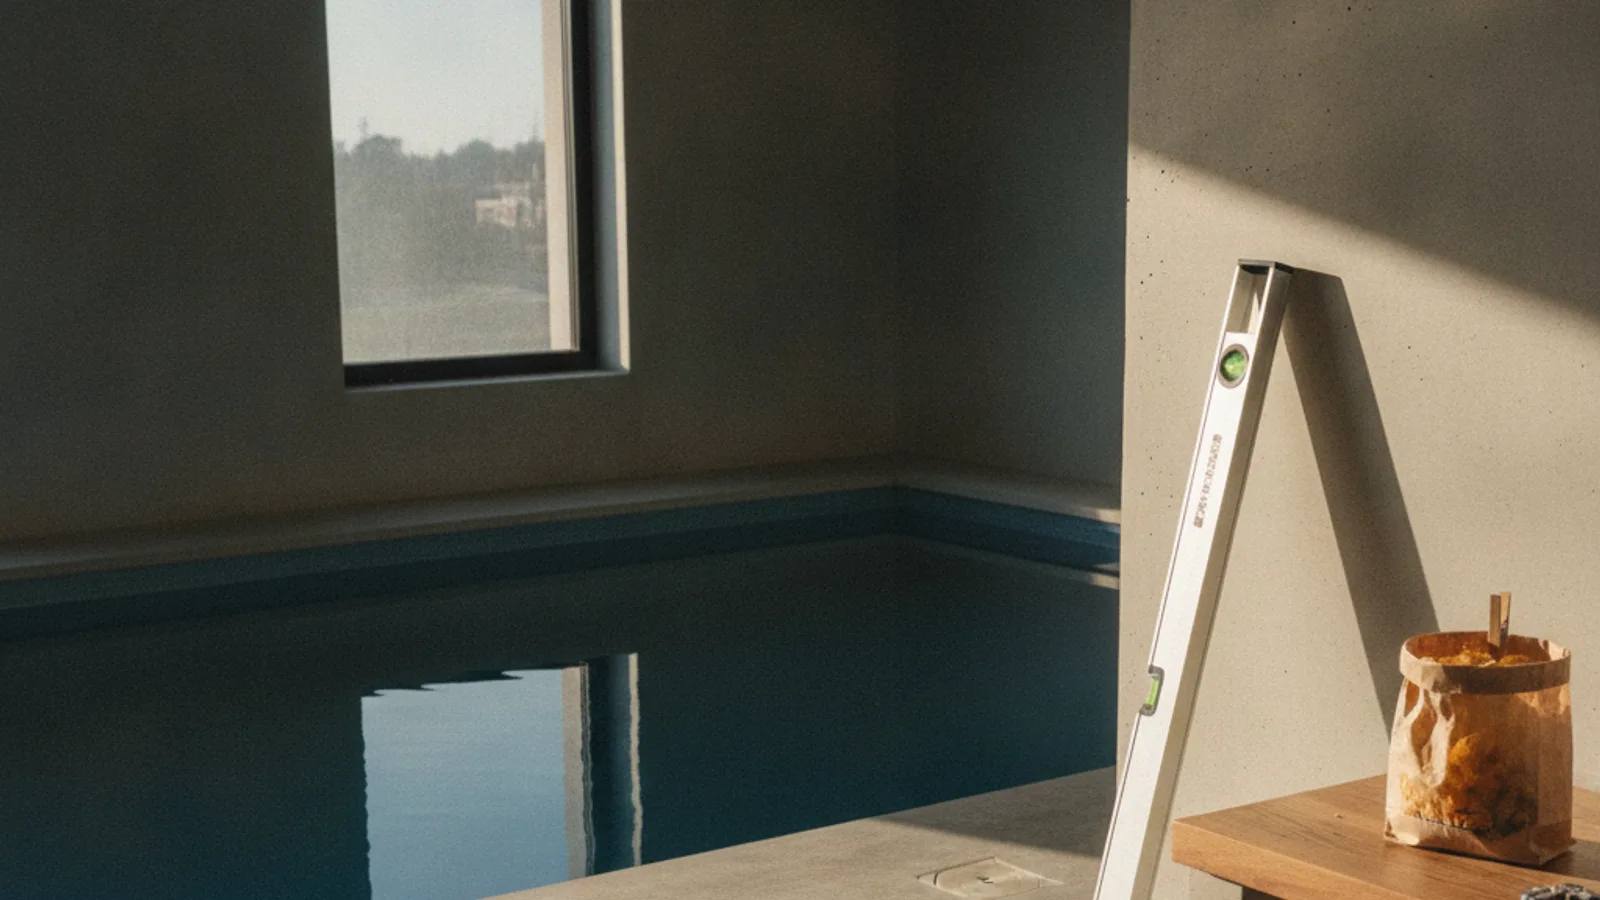
A new in-ground pool in Sacramento will run you between $75,000 and $150,000 for a standard build in 2026. That price can start lower, around $55,000, but that’s for a small-lot vinyl liner or a fiberglass drop-in with minimal decking, not the gunite pools most homeowners in the region want. For a full custom project with a spa, water features, and extensive hardscaping, you’re looking at $200,000 or more. The final number on your contract depends on three things: size, materials, and site conditions. Sacramento’s expansive clay soil is a major factor that can add thousands to your excavation and structural engineering costs before you’ve even poured the concrete. Getting this right is non-negotiable if you want a pool that lasts more than a few years.
In a Nutshell
- Typical Cost Range (2026): $75,000 - $150,000 for a standard gunite pool.
- Typical Timeline: 12 to 20 weeks from breaking ground, not including design and permitting.
- Key Challenge: Sacramento's expansive clay soil requires specialized engineering and construction to prevent cracking.
- Permitting: Expect a four to eight-week review period from the Sacramento County Building Department or your local city jurisdiction.
- Best Time to Start: Begin planning and contractor interviews in the fall (September-November) to break ground in late winter or early spring (February-March) for a summer-ready pool.
- Biggest Mistake to Avoid: Skimping on a geotechnical soils report. It’s the blueprint for a structure that won’t fail.
Why Trust Renology
I’m Mike Reynolds. For over twenty years, I’ve been on job sites, first swinging a hammer and now as the Structural & Outdoor Editor for Renology. I’ve seen what happens when a pool shell isn't engineered for the soil it sits in. I’ve watched homeowners fight with contractors over change orders that could have been avoided with a solid plan. My job is to give you the contractor’s pragmatic view. We focus on what fails under real-world loads, what gets a red tag from a city inspector, and what pencils out over a decade of use and maintenance. We don’t sell pools. We give you the framework to buy one intelligently, based on data from thousands of projects and insights from the people who build them every day. We know the difference between a pretty design and a durable structure that adds real value to your home.
The Real Cost of a Pool in Sacramento in 2026
Let's talk real numbers for a pool in Sacramento. The sticker shock is real, so it's best to go in with your eyes open. A basic, no-frills gunite pool, maybe 15 by 30 feet with standard plaster and a concrete deck, is going to start around $75,000. This is your entry point for a durable, long-lasting installation. Most families in neighborhoods like Folsom or Elk Grove end up in the $95,000 to $130,000 range. This tier typically includes popular upgrades like a pebble-finish interior for better durability, an integrated spa, LED lighting, and more attractive hardscaping like pavers or stamped concrete. It might also include a more energy-efficient variable-speed pump, which is practically a requirement for Title 24 compliance in California. Once you cross the $150,000 threshold, you're in custom territory. This means negative edges, sheer descent waterfalls, built-in fire pits, an outdoor kitchen, and high-end automation you can control from your phone. These projects are common in Granite Bay and parts of El Dorado Hills. Remember, these costs don't always include fencing, which is required by law, landscaping, or potential utility upgrades. A new 200-amp electrical panel to handle the pump, heater, and lights can add $4,000 to $7,000. The final `pool sacramento cost` is always more than just the pool itself; it's the entire backyard environment.
Three Representative Sacramento Pool Projects
Three representative projects from 2026, scoped similarly, reconstructed from Renology's Project of the Day network and used here in aggregate form:
- The East Sacramento Bungalow ($88,500): A compact 'spool' (small pool/spa combo) designed for a smaller backyard. This 12x22 foot gunite pool featured a simple rectangular design to fit the lot. The scope included a variable-speed pump, a cartridge filter, basic LED lighting, and a durable pebble-sheen finish. The decking was a simple broom-finish concrete, 350 square feet in total. The main cost driver was access; equipment had to be smaller to fit down a narrow side yard, increasing labor time. The price included the mandatory safety fencing (a simple black mesh fence) and a manual safety cover.
- The Roseville Family Pool ($127,000): This project represents the median for a suburban family home. The 16x34 foot freeform gunite pool included a 7x7 foot raised spa with a spillway. The homeowner opted for a salt chlorine generator, full color-changing LED lights, and three small deck jets for visual appeal. The decking was more extensive at 700 square feet, using colored and stamped concrete to mimic stone. This `pool contractor sacramento` had to account for moderately expansive soil, requiring thicker steel and concrete in the shell, which was factored into the budget from the start based on a soils report.
- The Granite Bay Custom Build ($215,000): This was a high-end build on a larger property. The project featured a 20x40 foot geometric pool with a negative edge overlooking a canyon. It included a large baja shelf for lounging, an integrated 8-person spa, and a sheer descent waterfall feature from a raised bond beam. The entire system was automated, controlled via a mobile app. The decking was over 1,200 square feet of travertine pavers. The cost also reflected significant site work, including grading and engineering for the slope, and a dedicated 100-amp electrical subpanel for the pool equipment.
Why is Pool Construction So Expensive in Sacramento?
There are three main drivers pushing up the cost of `sacramento pools`: labor, materials, and geology. First, skilled labor in California is expensive. According to the California Department of Industrial Relations prevailing wage data for Sacramento County, specialized trades like rebar setters, electricians, and plasterers command high hourly rates. A good pool builder has a team of these specialists, and you're paying for their expertise, insurance, and the guarantee that the work will pass inspection. There's no shortcut here; cheap labor leads to leaks and failures. Second, material costs have remained high. Steel for the rebar cage, concrete for the gunite shell, PVC pipe, and copper for electrical bonding have all seen price increases. A standard pool uses tons of these materials. The pebble finishes that are now standard for durability cost significantly more than the old-school plaster. Everything from the pump and filter to the tile and coping is a manufactured good subject to supply chain pressures. Third, and most critically for Sacramento, is the soil. Much of the valley floor is expansive clay, also known as adobe soil. This soil swells dramatically when it gets wet and shrinks when it dries. This movement exerts immense pressure on a rigid pool shell. To counteract this, your pool needs a specific structural design from an engineer based on a geotechnical soils report. This often means a thicker shell, more steel reinforcement, and sometimes even piers driven into the ground to stabilize the structure. This is a non-negotiable engineering requirement that adds thousands to the cost but prevents your $100,000 investment from cracking in half.
Planning Your Pool: A Step-by-Step Guide
Building a pool isn't a weekend project. It's a major construction job that takes coordination, permits, and a lot of patience. Follow these steps to keep your project on track and on budget.
Step 1: Define Your Scope & Budget (The 30,000-Foot View)
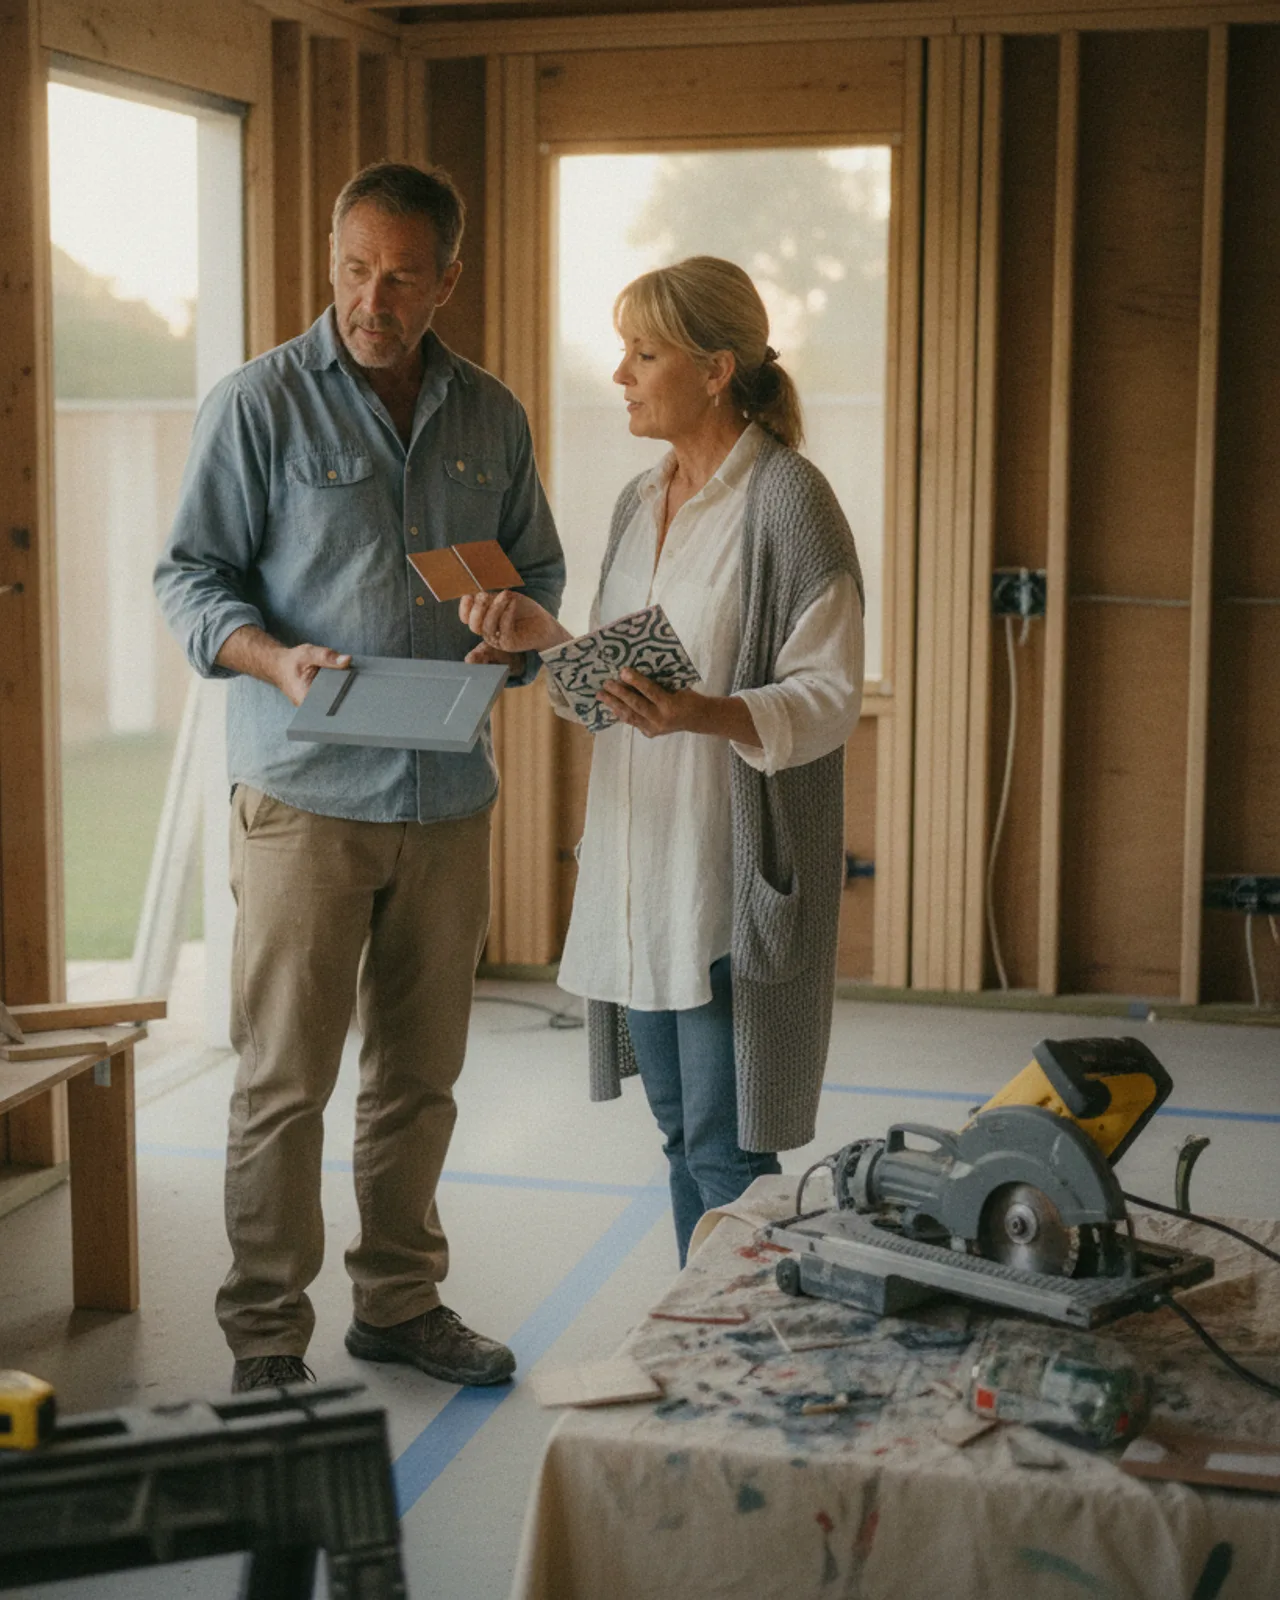
Before you talk to a single contractor, decide what you want and what you can afford. How will you use the pool? For laps, for kids to splash in, or as an architectural feature? The use case dictates the size, shape, and depth. A lap pool is long and straight. A family pool needs a large shallow end. An entertainment-focused pool might prioritize a baja shelf and spa. This is the time to gather inspiration from photos but be realistic about your yard size and budget. Establish a hard number you cannot exceed, and then hold back ten to fifteen percent of it as a contingency fund. This initial planning prevents scope creep later, which is the number one killer of budgets. A clear vision makes you a better client and ensures the bids you get are for the same project. * Why: A clear scope prevents expensive changes after the contract is signed and ensures you get accurate, comparable bids from contractors. * Watch out for: Don't forget to budget for the 'unseen' costs: engineering fees, permits, mandatory fencing, and potential electrical upgrades.
Step 2: Survey Your Site (Know Your Dirt)
Your backyard is the biggest variable. You need a survey or plot plan showing property lines, easements, and the location of underground utilities. In Sacramento, you can get utility marking for free by calling 811. But the most important survey is geological. Hire a geotechnical engineer to produce a soils report. This is not optional in Sacramento. The report will identify the level of soil expansion and provide the structural engineer with the data needed to design the pool shell. It will specify the thickness of the gunite, the size and spacing of the rebar grid, and any other measures needed to ensure the pool can withstand soil movement. This report costs $1,500 to $3,000, but it can save you from a $50,000 structural failure down the road. * Why: A site survey and soils report identify critical constraints and engineering requirements before you spend money on design. * Watch out for: Unmarked private utilities like irrigation or septic systems, which won't be on the city maps and can cause costly surprises during excavation.
Step 3: Vet Your Pool Contractor (Hire the Right Crew)
Finding the right `pool contractor sacramento` is the most important decision you'll make. Get at least three bids. Don't just look at the price; compare the line items. A good bid is detailed and specifies materials, equipment models, and construction methods. Check their license on the California Contractors State License Board (CSLB) website. It must be a C-53 Swimming Pool Contractor license. Ask for proof of liability insurance and workers' compensation. Call at least three of their recent references and, if possible, visit a completed project. Ask the references about communication, budget adherence, and how problems were handled. A good contractor is a good communicator. They should be able to explain the process, answer your questions, and provide a clear schedule. * Why: A properly licensed, insured, and reputable contractor protects you from liability and ensures the project is built to code. * Watch out for: Unusually low bids. They often indicate an inexperienced contractor, inferior materials, or an incomplete scope that will lead to expensive change orders.
Step 4: Lock Your Scope (The Point of No Return)
Once you've chosen a contractor, you'll finalize the design and sign the contract. This is your scope-lock date. Every detail, from the tile choice to the location of the skimmer, should be specified in the contract documents. The contract should include a detailed scope of work, a list of materials and equipment by brand and model, a payment schedule, and a projected timeline. Read it carefully. California law has specific requirements for swimming pool contracts, including a three-day right to cancel. Any changes made after this point are handled through a formal change order, which adds cost and time. Make your decisions now. Indecision during construction is expensive. For a deeper dive into the permitting process that follows, check out our complete guide: The Sacramento Pools Permit Playbook 2026. * Why: Locking the scope prevents miscommunication and costly on-the-fly changes during construction. * Watch out for: Vague terms like 'standard equipment' or 'contractor's choice' in the contract; demand specific model numbers for all major components.
Step 5: Pulling Permits (The City Gets Its Say)
Your contractor will take the engineered plans and submit them to the local building department, likely the City of Sacramento or Sacramento County. This is not a quick process. Plan for four to eight weeks of plan review. The city will check for compliance with building codes, safety regulations, and local zoning ordinances, such as setbacks from property lines. They will review the structural engineering, electrical plans, and plumbing layout. If they have questions or require changes, they will issue corrections, and the plans must be revised and resubmitted. You cannot break ground until you have an approved permit and the inspection card is on site. Any work done without a permit is illegal and will be subject to fines and tear-out orders. * Why: A building permit ensures your pool is safe, built to code, and properly documented in your property's official records. * Watch out for: Homeowner's Associations (HOAs). They have their own design review process that is separate from the city's and must be completed before you can start.
Step 6: Excavation & Rough-In (The Big Dig)
Once the permit is issued, the heavy equipment arrives. The crew will stake out the pool's shape and begin digging. This is a messy, loud process. The excavator will remove hundreds of cubic yards of dirt. Where that dirt goes is part of your plan; hauling it away costs money. During excavation, the contractor will also dig trenches for plumbing and electrical conduit. This is the 'rough-in' phase. All the underground pipes for the drains, skimmers, and returns are laid and pressure tested to ensure they don't leak. The main electrical conduit from the house to the equipment pad is also installed. An inspector will likely visit at this stage to check the plumbing layout and setback measurements before anything is buried. * Why: Proper excavation and rough-in create the correct foundation and utility lines for the pool shell. * Watch out for: Hitting unexpected underground obstacles like large rocks, old foundations, or a high water table, which can stop work and add significant costs.
Step 7: Steel, Plumbing, and Gunite (The Skeleton)
After excavation, a cage of steel reinforcement bars (rebar) is bent and tied into place, following the engineer's specifications. This steel skeleton gives the pool its strength. The plumbing stubs for returns and drains are secured within the rebar grid. The electrical contractor will also bond the steel grid with copper wire to create a continuous grounding loop for safety. This work requires a pre-gunite inspection from the city. The inspector will verify the rebar size and spacing against the approved plans. Once this inspection passes, the gunite crew arrives. Gunite (or shotcrete, a similar material) is a type of concrete that is pneumatically applied over the rebar cage to form the pool shell. This is a one-day, incredibly noisy event that creates the final shape of your pool. * Why: The steel and gunite form the structural shell; it must be built exactly to the engineering specs to handle water pressure and soil movement. * Watch out for: The gunite needs to cure for at least seven to ten days, and sometimes up to 28 days, before it reaches full strength. You'll need to water it down several times a day during this period to ensure it cures properly, especially in the Sacramento heat.
Step 8: Tile, Coping, and Decking (The Finishes)
With the shell in place, the finish work begins. First, the waterline tile and the coping (the stone or concrete edge around the pool) are installed. These elements define the look of the pool and must be set perfectly level. After the coping is set, the crew can begin forming and pouring the pool deck. This is also when any other hardscape features like retaining walls or waterfall structures are built. The deck needs to slope away from the pool for proper drainage. The electrical contractor will return to connect the lights and bond any metal components near the pool, like handrails or fence posts, to the grounding grid. Plumbing lines are connected to the pump, filter, and heater at the equipment pad. * Why: Finishes provide the final look and feel, but also serve critical functions like providing a safe, non-slip edge and proper drainage. * Watch out for: The expansion joint between the coping and the deck. It must be properly installed with a flexible sealant to prevent cracking as the two concrete slabs expand and contract at different rates.
Step 9: Plaster and Fill (The Final Step)
The final construction step is applying the interior finish. The crew will meticulously clean the gunite shell before applying the plaster or pebble finish. This is skilled work done by a specialized crew who trowel the material by hand to create a smooth, waterproof surface. The process is quick, often completed in a single day. As soon as they are finished, a water truck arrives or you begin filling the pool from a hose. The pool must be filled completely without stopping to prevent a 'bathtub ring' from forming on the new finish. This can take 24 to 48 hours. Once full, the startup technician will come to balance the chemicals and start the equipment for the first time. * Why: The interior finish provides the waterproofing and the final aesthetic of the pool's water color. * Watch out for: The critical 'startup' period for the new finish. For the first few weeks, the water chemistry must be carefully managed and the surface brushed daily to ensure the plaster cures correctly and doesn't stain.
Step 10: Final Inspection & Handover (Getting the Green Tag)
Before the pool can be used, the building inspector must conduct a final inspection. They will check all safety features: the fence and gate must be self-closing and self-latching, door alarms must be functional, and all electrical components must be properly grounded and protected. Once the inspector signs off on the inspection card (the 'green tag'), the project is officially complete. Your contractor should then provide a full orientation, showing you how to operate the equipment, test the water, and perform routine maintenance. They will also hand over all the manuals and warranty documents. This is the time to compile a final punch list of any small items that need to be addressed before you make the final payment. * Why: The final inspection is your official certification that the pool is safe and code-compliant. * Watch out for: Don't make the final payment until every single item on your punch list is complete and you have received lien releases from the contractor and major subcontractors.
Information Gain
3 Sacramento pool builders, editor-screened. 4 questions.
See my 3 matchesWhat most articles about the `pool sacramento 2026` market won't tell you is how the specific geology and climate of the Central Valley dictate not just the upfront cost, but the long-term cost of ownership. The focus is always on the build, not the life of the pool. First, let's go deeper on the expansive clay soil. A standard soils report is the minimum. For properties in areas with highly plastic adobe clay, like parts of Elk Grove or the foothills, a good contractor will insist on piers. These are concrete columns drilled deep into the ground until they hit stable soil or bedrock, and the pool shell rests on them. This effectively uncouples the pool from the volatile topsoil. It can add $10,000-$20,000 to the cost, and many homeowners balk at it. But it's the difference between a pool that lasts fifty years and one that develops a major structural crack in seven. A failing pool isn't a repair; it's a demolition and replacement. Second is the impact of Sacramento's climate on operating costs. The long, hot, dry summers mean high evaporation rates. A typical uncovered pool can lose an inch or more of water a week, which is thousands of gallons over a season. This drives up your water bill and requires more frequent chemical additions, as evaporated water leaves minerals and chemicals behind, concentrating them., the intense sun and heat degrade chlorine quickly, meaning your pump and chlorinator have to work harder, consuming more electricity. A high-quality variable-speed pump (mandated by Title 24 for energy efficiency) combined with a good solar or automatic safety cover is not an upgrade; it's a financial necessity. A cover can reduce evaporation by up to 95% and cut chemical usage by 50%. It pays for itself in three to five years, but it has to be budgeted for from the start.
Common Budget Overruns and How to Avoid Them
Even with a fixed-price contract, costs can swell. The most common source of overruns is unforeseen site conditions. Hitting a massive boulder or a high water table during excavation will require extra labor and equipment, and that cost is almost always passed on to the homeowner. A proper geotechnical report can sometimes predict these issues, but not always. Another major culprit is homeowner-driven changes. Deciding you want to add a spa or switch from concrete to travertine pavers after the work has started will generate a change order that includes not just the cost of the new materials but also the labor for any rework. The best way to avoid this is to finalize every single decision before signing the contract. Electrical work is another frequent source of budget creep. If your main electrical panel is full or too small to handle the new load from the pool equipment, you'll need an upgrade. A panel upgrade can cost thousands and is often not discovered until the electrician begins their work. Finally, landscaping and drainage are often underestimated or left out of the pool contract entirely. Regrading the yard after construction, installing new drainage, and replacing lawns and plants can easily add another ten to twenty percent to the total project cost. The National Association of Home Builders recommends a ten to fifteen percent contingency on renovations in homes over thirty years old. For a complex project like a pool, that's sound advice for any home.
Timeline: How Long Does a Sacramento Pool Build Really Take?
Contractors often sell you on a six-to-eight-week build time. That's possible in a perfect world. In reality, you should plan for 12 to 20 weeks from the day they break ground until you're swimming. And that doesn't include the pre-construction phase. Here's a realistic breakdown: the design and engineering phase can take three to six weeks. Permitting with the city or county will take another four to eight weeks, sometimes longer if corrections are needed. So you're already two to four months in before a shovel even hits the ground. Once construction starts, the 12 to 20-week clock begins. Excavation, steel, and gunite might only take two weeks, but then the gunite has to cure for one to four weeks. Weather is the biggest wild card. A week of rain can turn your site into a mud pit and halt all progress. Subcontractor scheduling is another factor. A good pool builder is a master scheduler, but if their best tile crew is booked on another job, you might have to wait. Inspection delays can also add time. If an inspector can't come out for three days, the project sits idle. 12 weeks is if nothing surprises you. 20 weeks is if you hit a couple of common delays. If you want to be swimming by Memorial Day, you need to be signing a contract no later than November of the prior year.
Key Sacramento Pool Building Codes to Know
The California Building Code has a specific set of rules for swimming pools, and local jurisdictions like Sacramento County can have their own amendments. The most critical regulations are about safety. You are required to have a 'barrier' to prevent unauthorized access, especially by young children. This means a fence that is at least five feet high with a self-closing, self-latching gate. Alternatively, you can use an approved safety cover. any doors or windows from the house that provide direct access to the pool area must be equipped with an alarm. There are also technical codes that trip people up. Setbacks are a big one. A pool must typically be at least five feet from the rear and side property lines and a certain distance from the house foundation itself. Electrical code is extremely strict. All electrical outlets near the pool must be GFCI-protected, and all metal components (rebar, ladders, lights) must be bonded together with a continuous copper wire to prevent electrical shock. The city inspector will meticulously check this bonding grid. Finally, Title 24, California's energy code, has efficiency requirements for pool pumps and heaters. This effectively mandates the use of variable-speed pumps, which use significantly less energy than older single-speed models.
Your Sacramento Pool Installation Checklist
- Planning & Budgeting:
- [ ] Define primary use (family, fitness, entertaining)
- [ ] Set all-in budget, including a 15% contingency
- [ ] Obtain property plot plan
- [ ] Commission a geotechnical soils report
- Contractor Vetting:
- [ ] Get bids from at least three licensed (C-53) contractors
- [ ] Verify license and insurance on CSLB website
- [ ] Call at least three recent references
- [ ] Review a sample contract for detail and clarity
- Design & Contract:
- [ ] Finalize pool shape, size, depth, and location
- [ ] Select all materials: tile, coping, interior finish, decking
- [ ] Select all equipment by brand and model number
- [ ] Sign detailed contract and review scope-lock details
- Construction & Permitting:
- [ ] Submit plans to HOA for approval (if applicable)
- [ ] Ensure contractor has pulled the city/county permit
- [ ] Verify inspection card is posted on-site
- [ ] Confirm with contractor that all inspections (plumbing, steel, final) have passed
- Completion:
- [ ] Walk through the completed project and create a final punch list
- [ ] Receive full equipment orientation and all warranty documents
- [ ] Obtain lien releases before making final payment
Renology Take
The biggest mistake homeowners make when planning a `pool sacramento` project is focusing on the aesthetics before the structure. They spend weeks choosing the perfect waterline tile but only minutes discussing the engineering of the shell. In the Sacramento Valley, that's a backward priority. The single most important element of your pool is the part you'll never see: the steel and concrete structure designed to withstand the expansive clay soil. A beautiful tile job on a cracked shell is worthless. You must treat the geotechnical report and the structural engineering plan as the true foundation of your project. A contractor who downplays their importance or suggests you can skip it to save money is not a professional you want building in your backyard. Invest in the structure first. The integrity of the shell is the only thing that matters in ten years.
Sources & Methodology
Renology reviews public permit and labor signals, supplier pricing, remodeler quote patterns, comparable projects, the Renology Cost Index, and the Renology Methodology. Cost references are planning ranges for Sacramento pool projects, not fixed bids.
This article is from The Renology Magazine, the renovation magazine and contractor-advisory for homeowners in Southern California, San Diego, and Greater Seattle. Want more renovation breakdowns? Search "The Renology Magazine" on Google.
Sources & methodology
How Renology builds this guide
Renology combines public permit and labor signals, supplier pricing, remodeler quote patterns, and editorial review of comparable projects. Cost references are planning ranges, not fixed bids, because site conditions, materials, access, permits, and finish level can change the final price.
- Benchmarked against the Renology Cost Index, related service guides, and the Renology Methodology.
- Reviewed for Sacramento market context when a local market is available.
- Focused on pool scope, materials, timeline, contractor risk, and budget drivers.
Sacramento · pre-screened
Get 3 Sacramento pool bids in 48 hours.
Our editors already vetted Sacramento pool builders. Answer 4 questions and we send 3 written bids inside 48 hours, with the real price for your scope, not their inflated first-call number.
- Free, no commission
- Pre-screened locally
- Bids inside 48 hours
Takes about 60 seconds. We'll text you when bids arrive.